
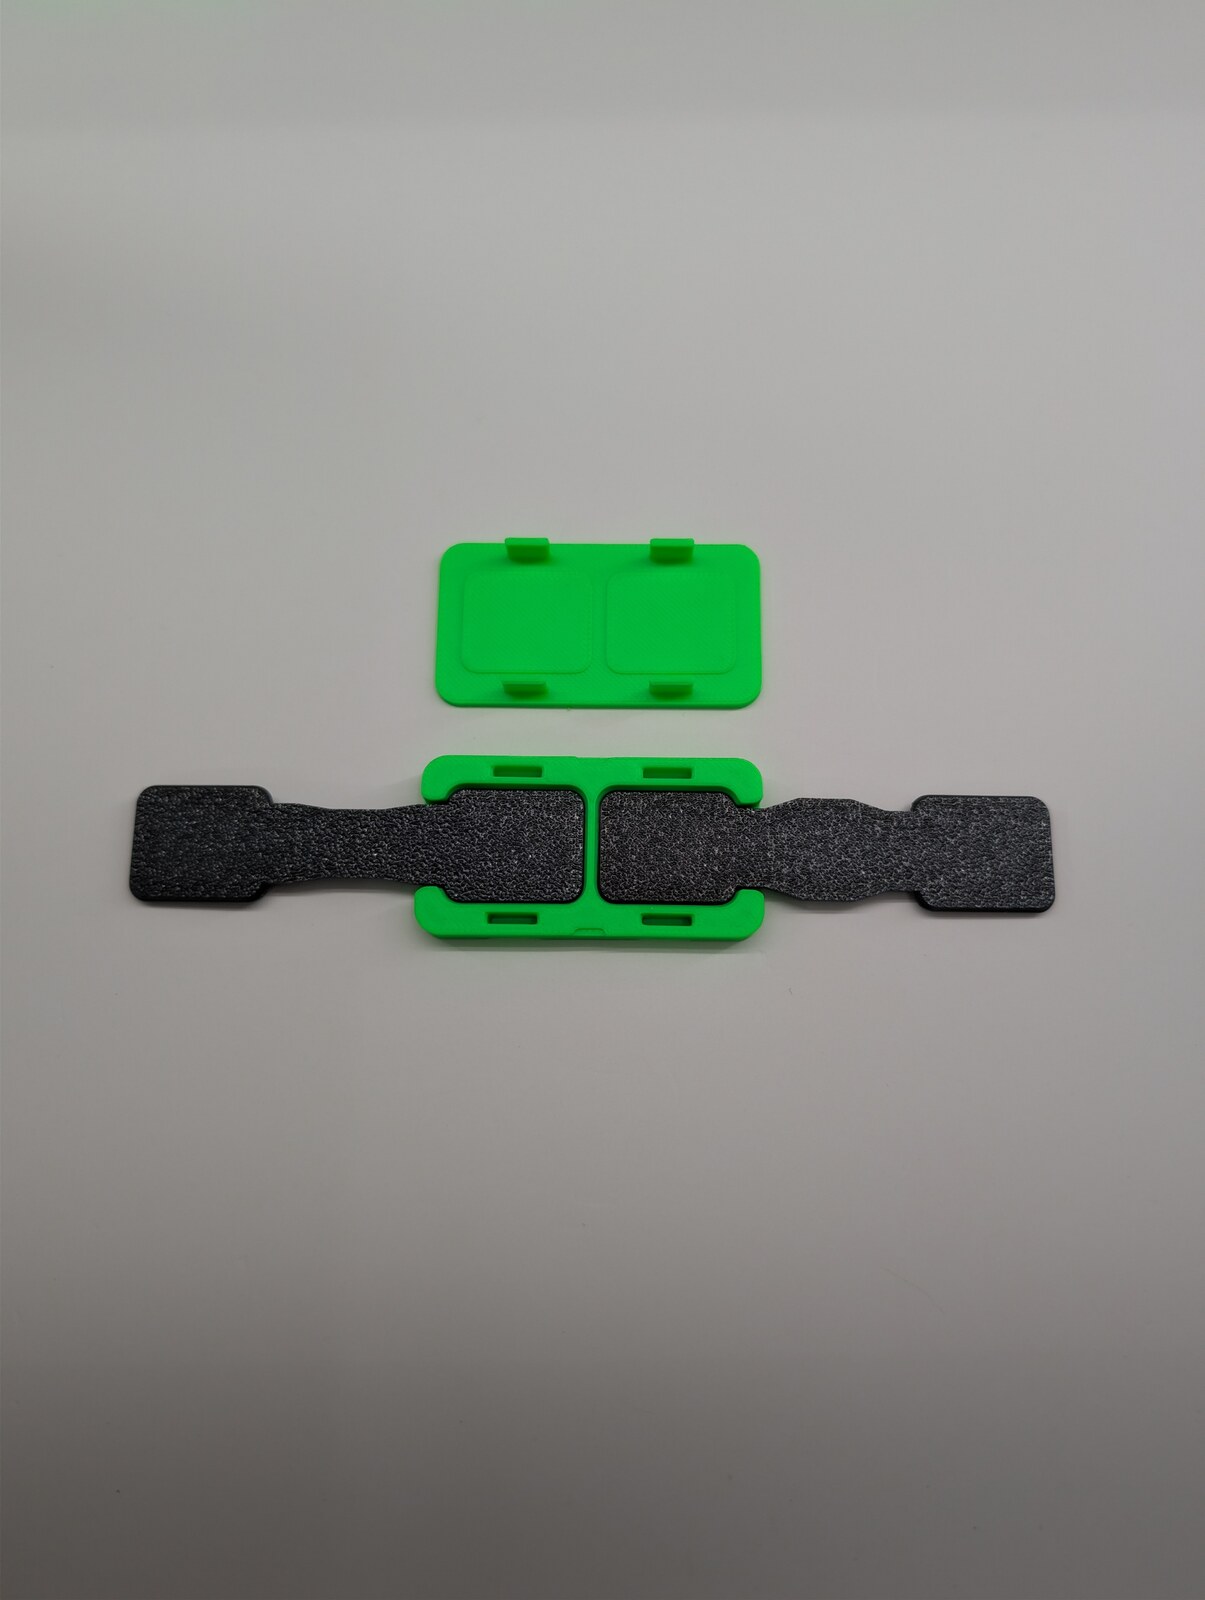
Straight joiner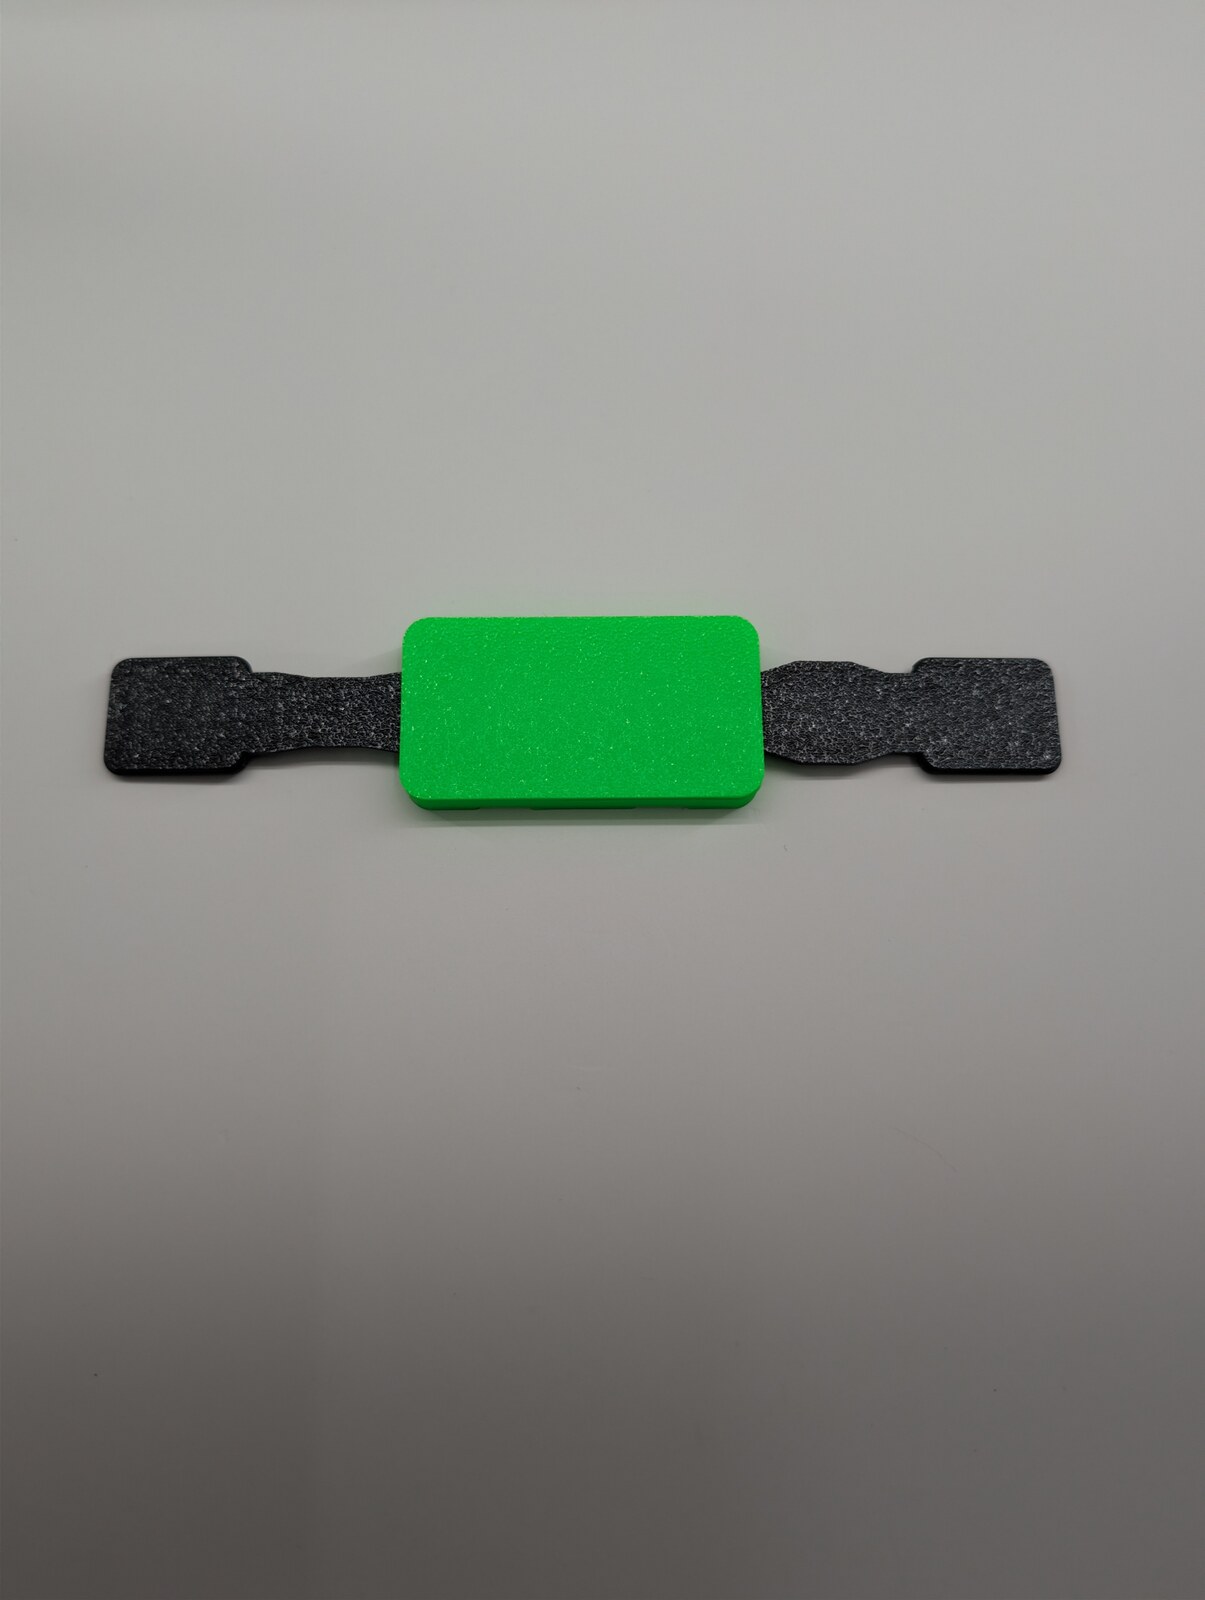
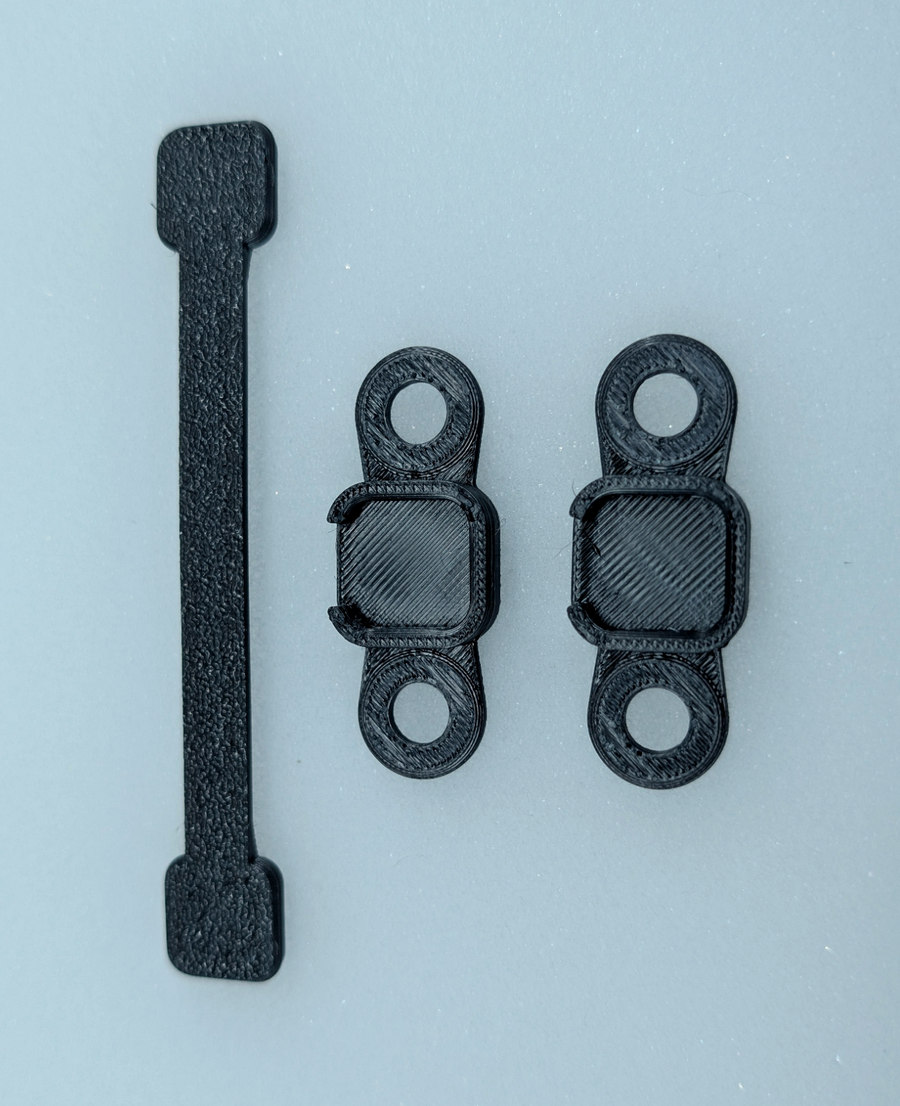
Two straps in line.
A matching base and cap/lid. Choose the shape for your strap layout and check your printed fit.
See cap seated
Forest City Layers · Made for my own armour
A printable system for joining flexible straps, mounting them inside armour, and choosing where your build locks together or releases magnetically.
Forest City Layers Modular Armour Attachment System
Digital files to print yourself. CA$7.99 introductory price for the complete system.
Ready-made kits — coming soon
My story
I was building my own 3D printed armour, and managing all the separate pieces was frustrating. I tried tape, Velcro, hot glue and other fixes.
So I started designing a magnetic TPU strap for myself. One connector became two families, different straps and bases, locking mounts, joiners and a mounting system I could build around.
“It's got magnets, it uses TPU, and everything kind of locks together.”— Dylan, in my workshop
Hear the story in my own words. The video uses my real voice and workshop footage.
“I've been struggling to build a 3D printed Iron Man suit. So, after all of that failed, I decided to use Fusion 360 to make my own system. And it's got magnets, it uses TPU, and everything kind of locks together.”
See it work
The magnetic plug seats in its matching TPU base. The strap bends between your printed pieces, while each mounting point stays accessible.
Release one connector locally instead of pulling from the middle of the strap. No numerical load rating is claimed.
Strap joiners
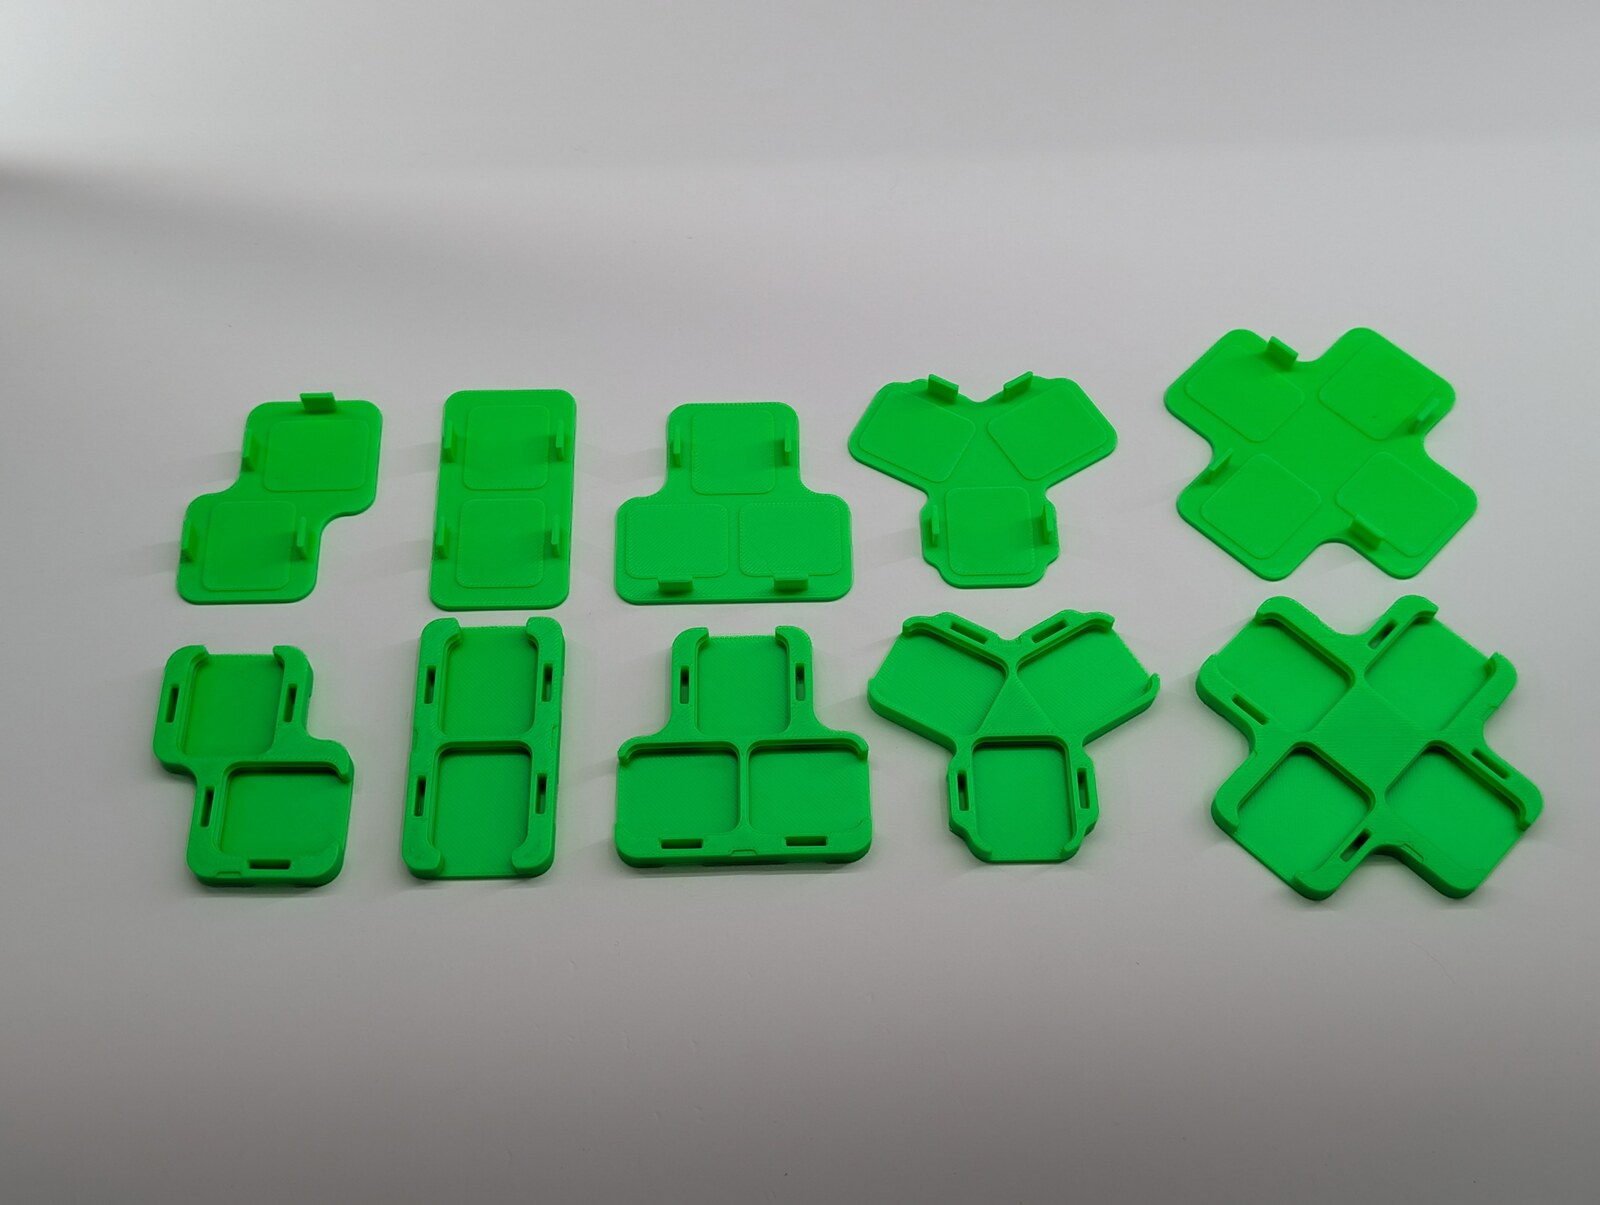
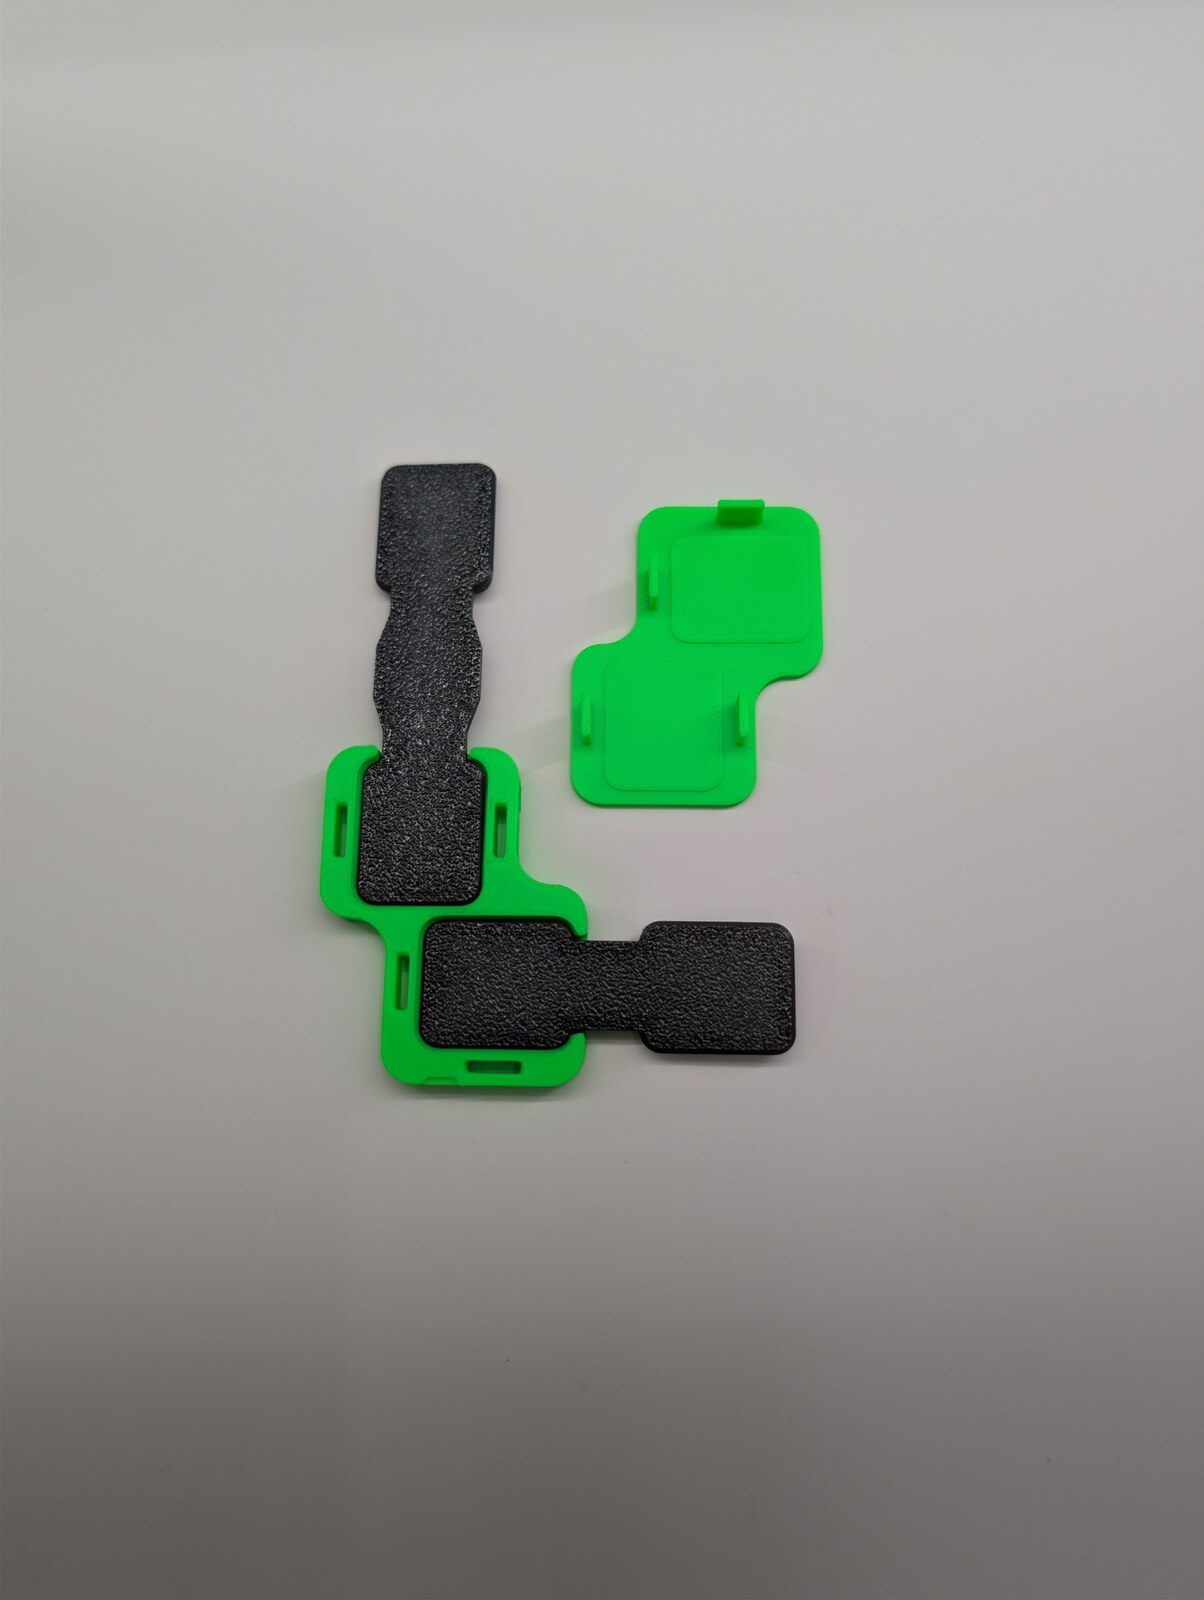
Straight, L, T, X and Y joiners give you different strap junctions. Each shape has its own matching base and cap/lid: ten printable variants in total.
A matching base and cap/lid. Choose the shape for your strap layout and check your printed fit.
A matching base and cap/lid. Choose the shape for your strap layout and check your printed fit.
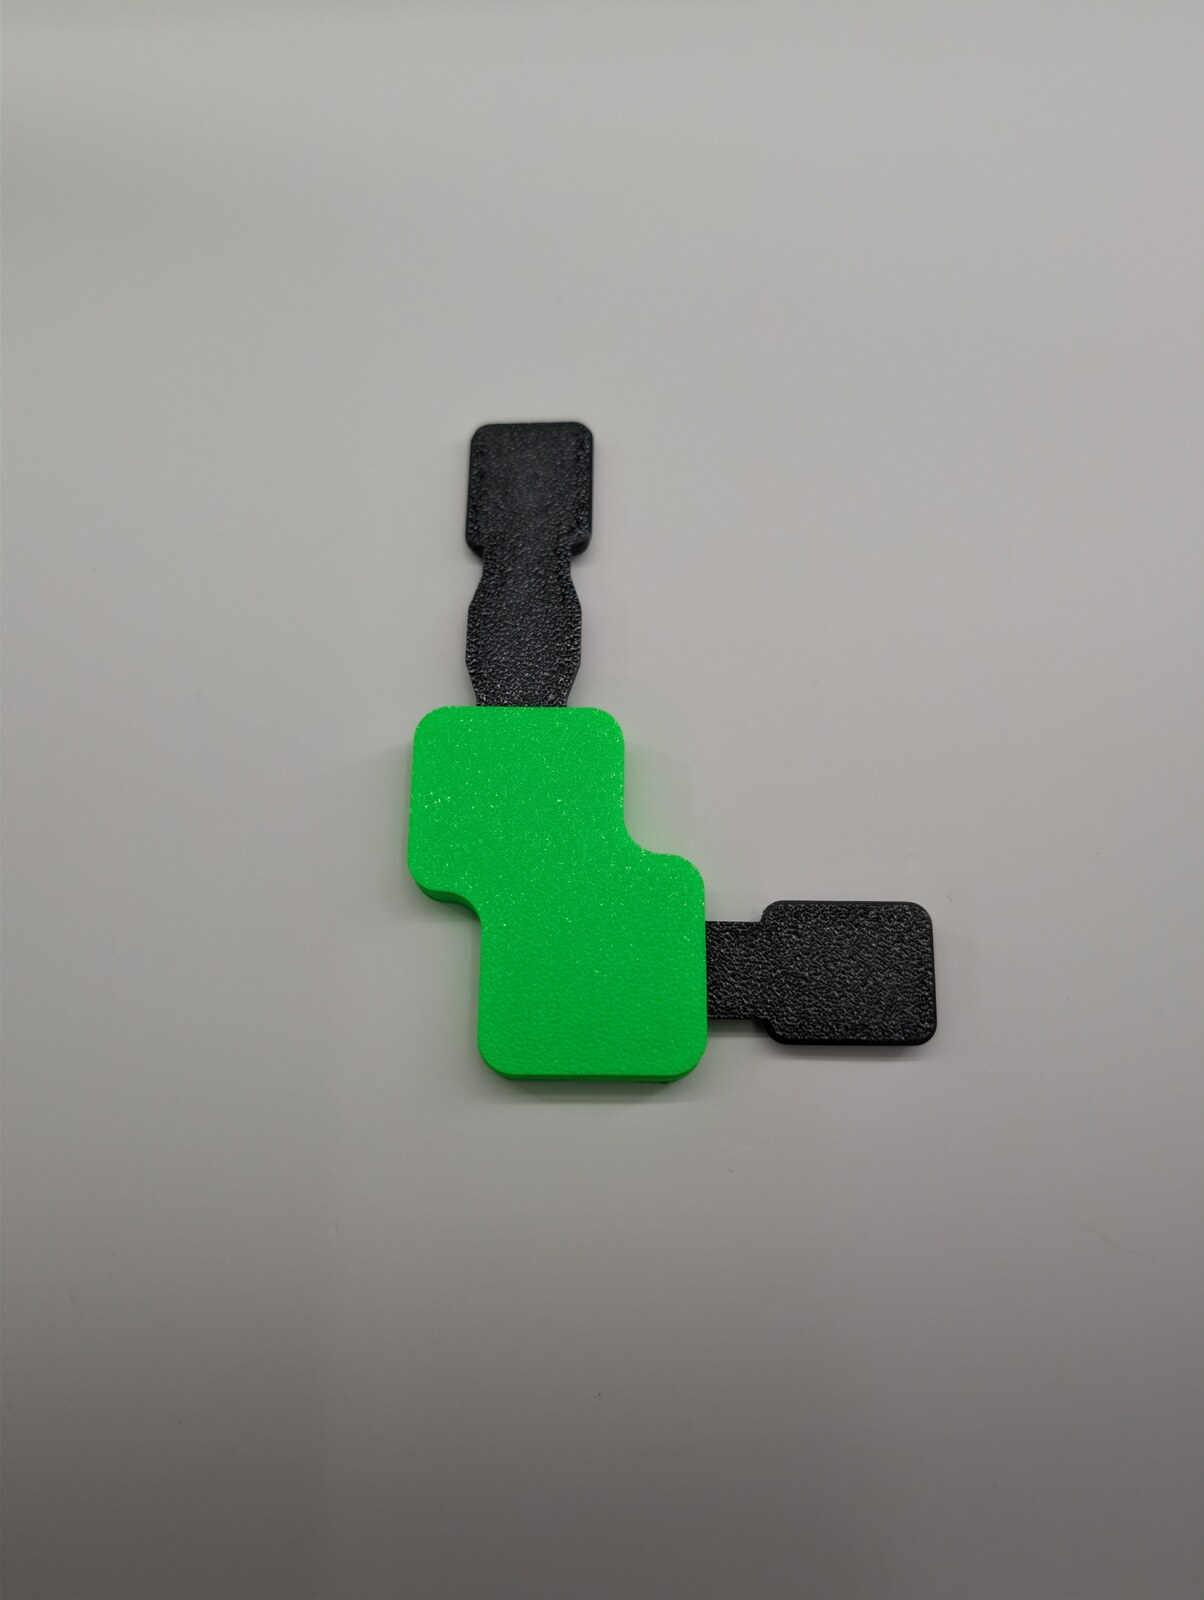
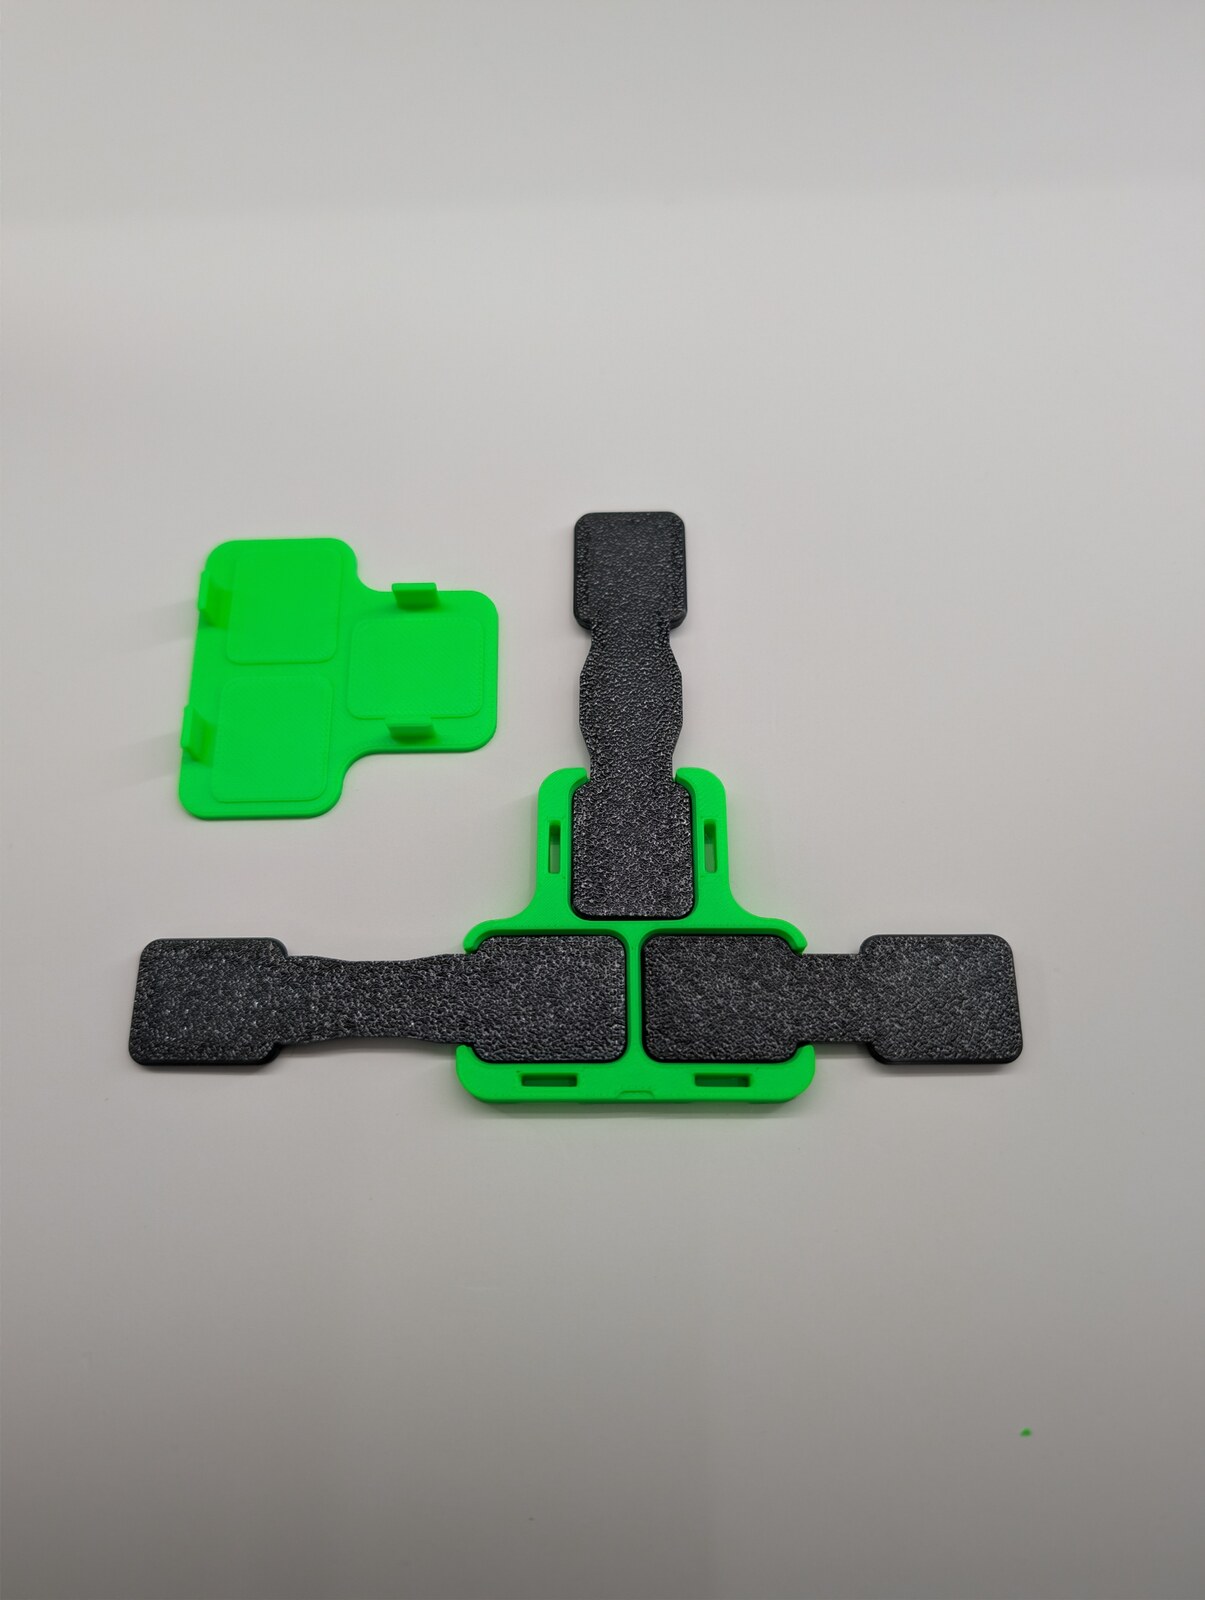
A matching base and cap/lid. Choose the shape for your strap layout and check your printed fit.
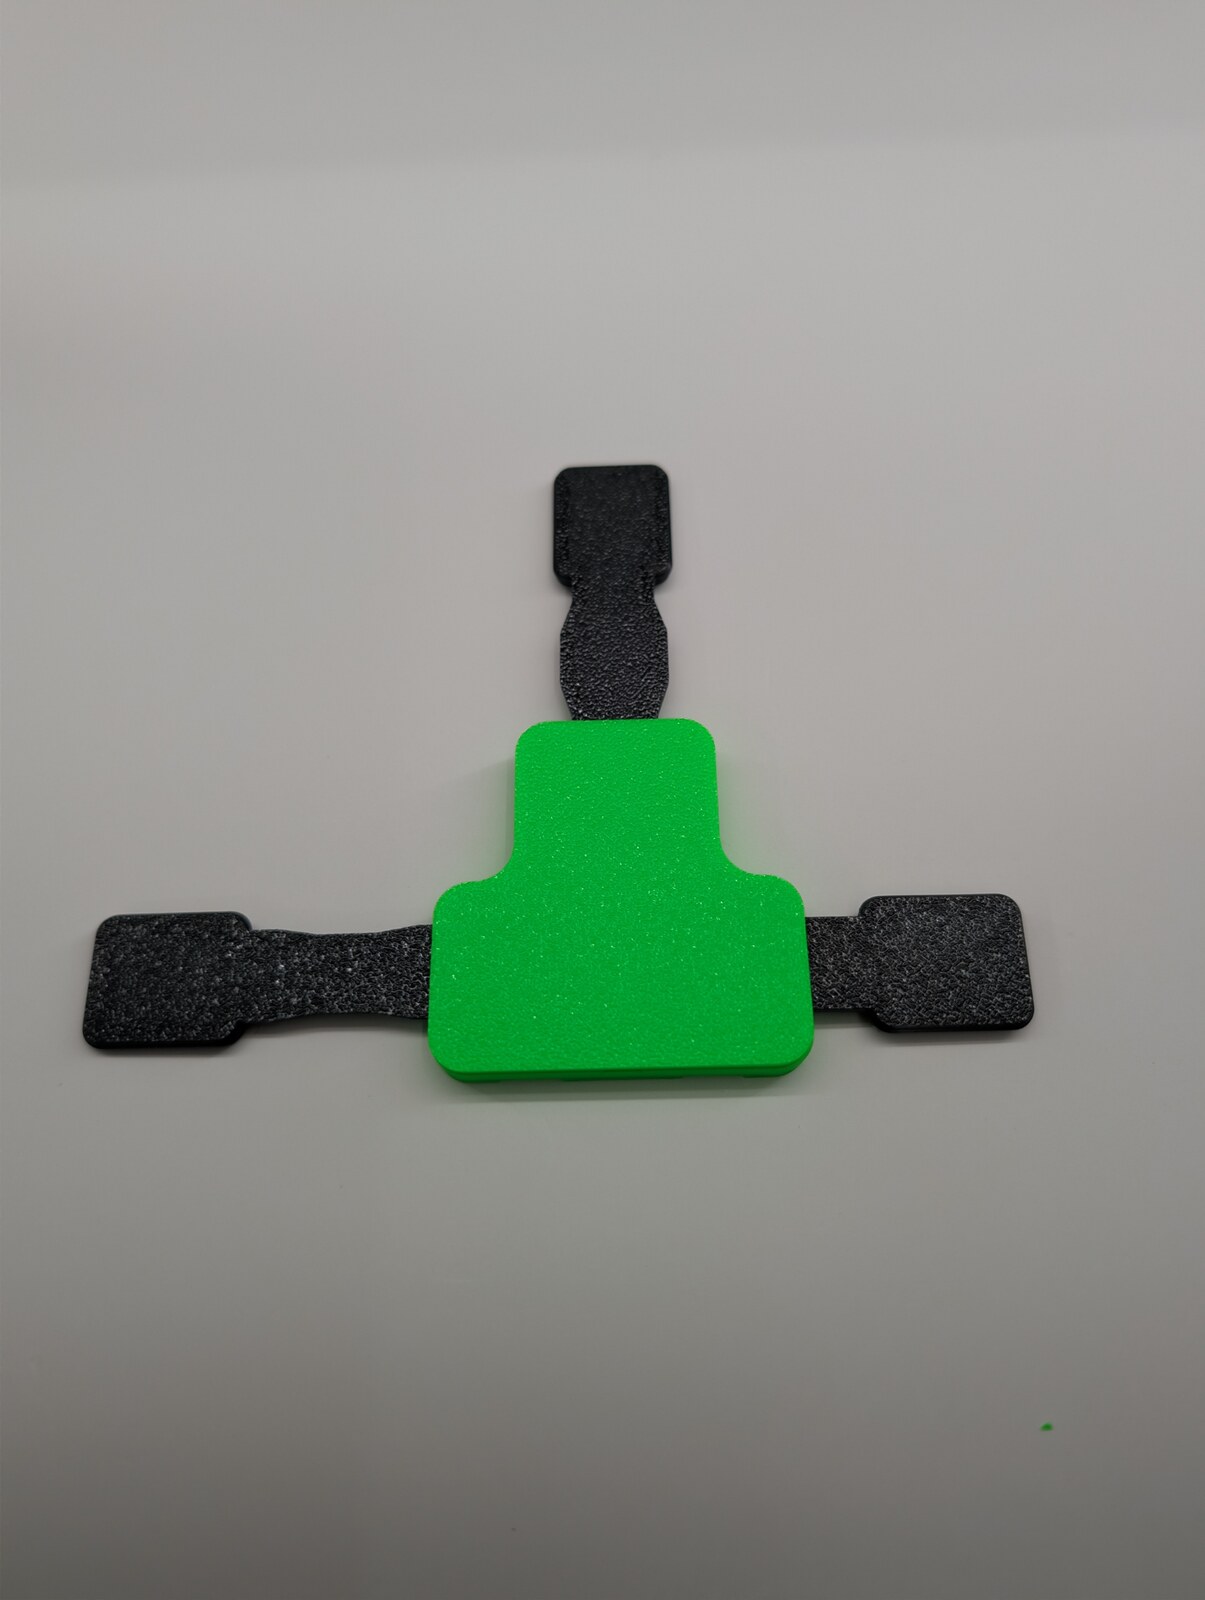
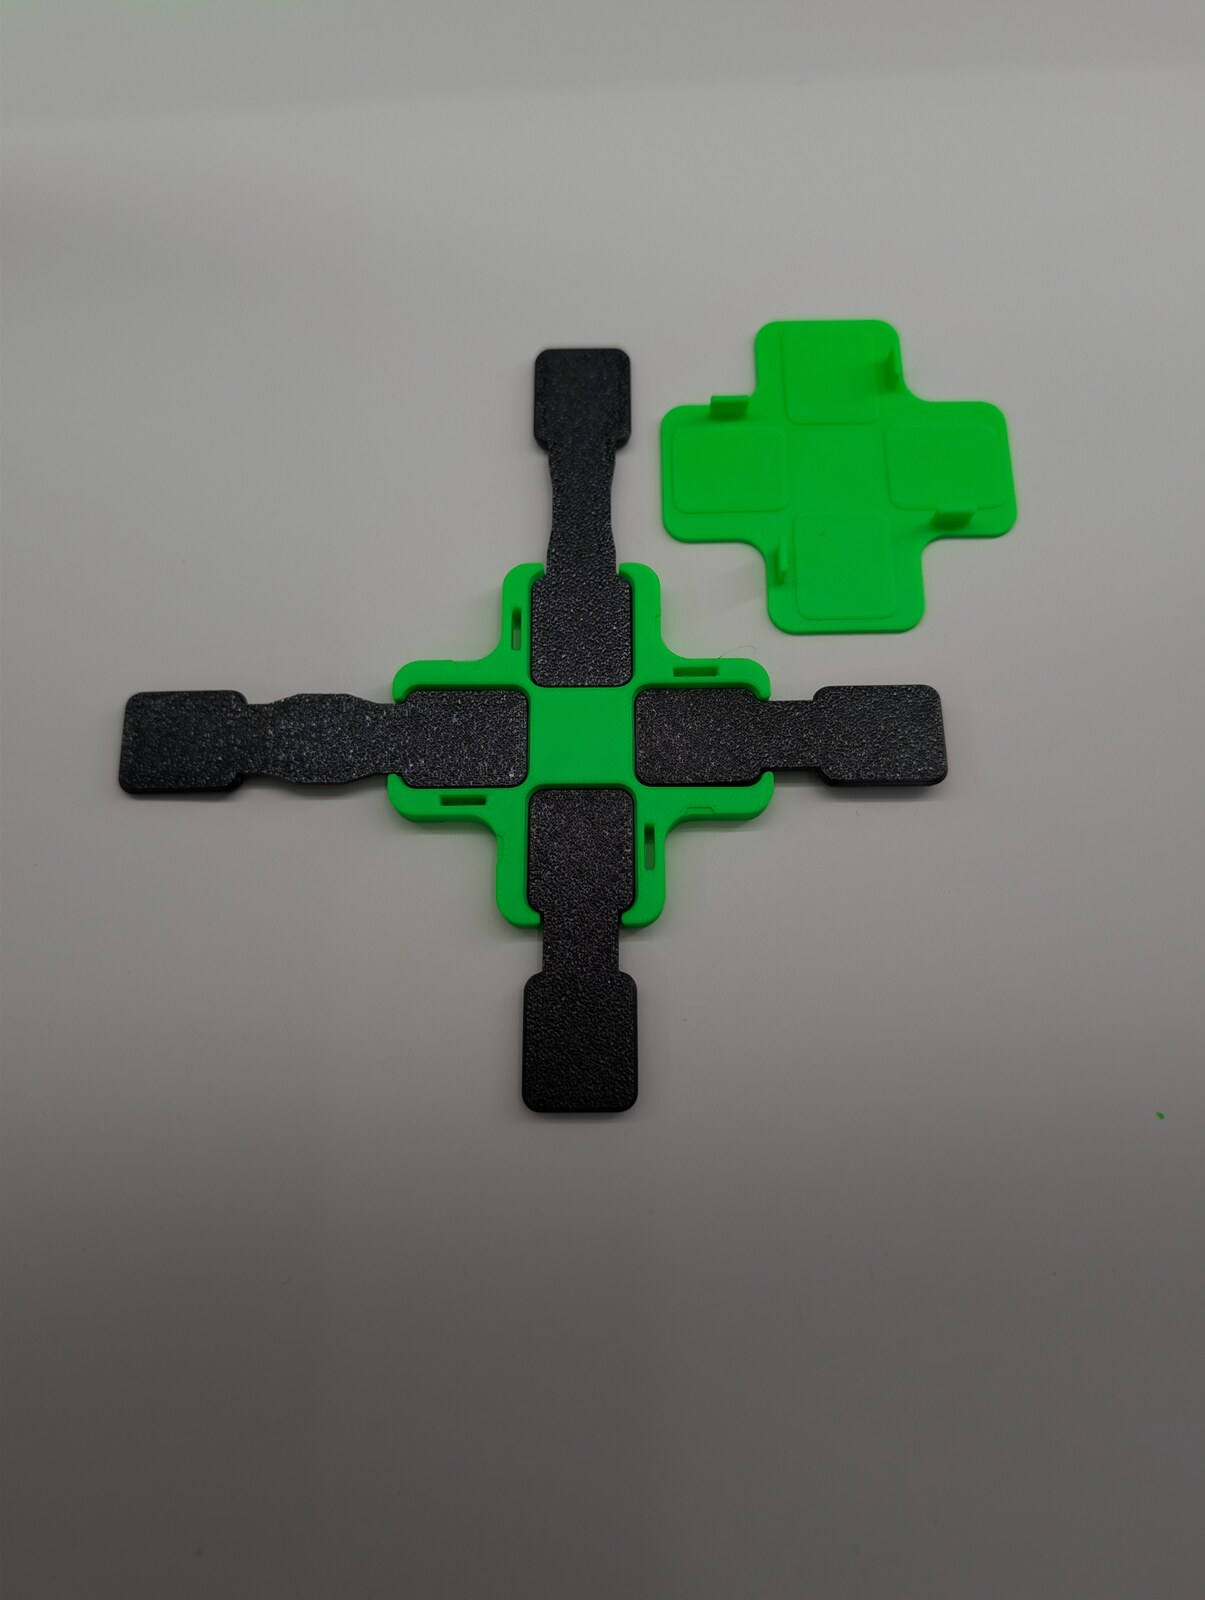
A matching base and cap/lid. Choose the shape for your strap layout and check your printed fit.
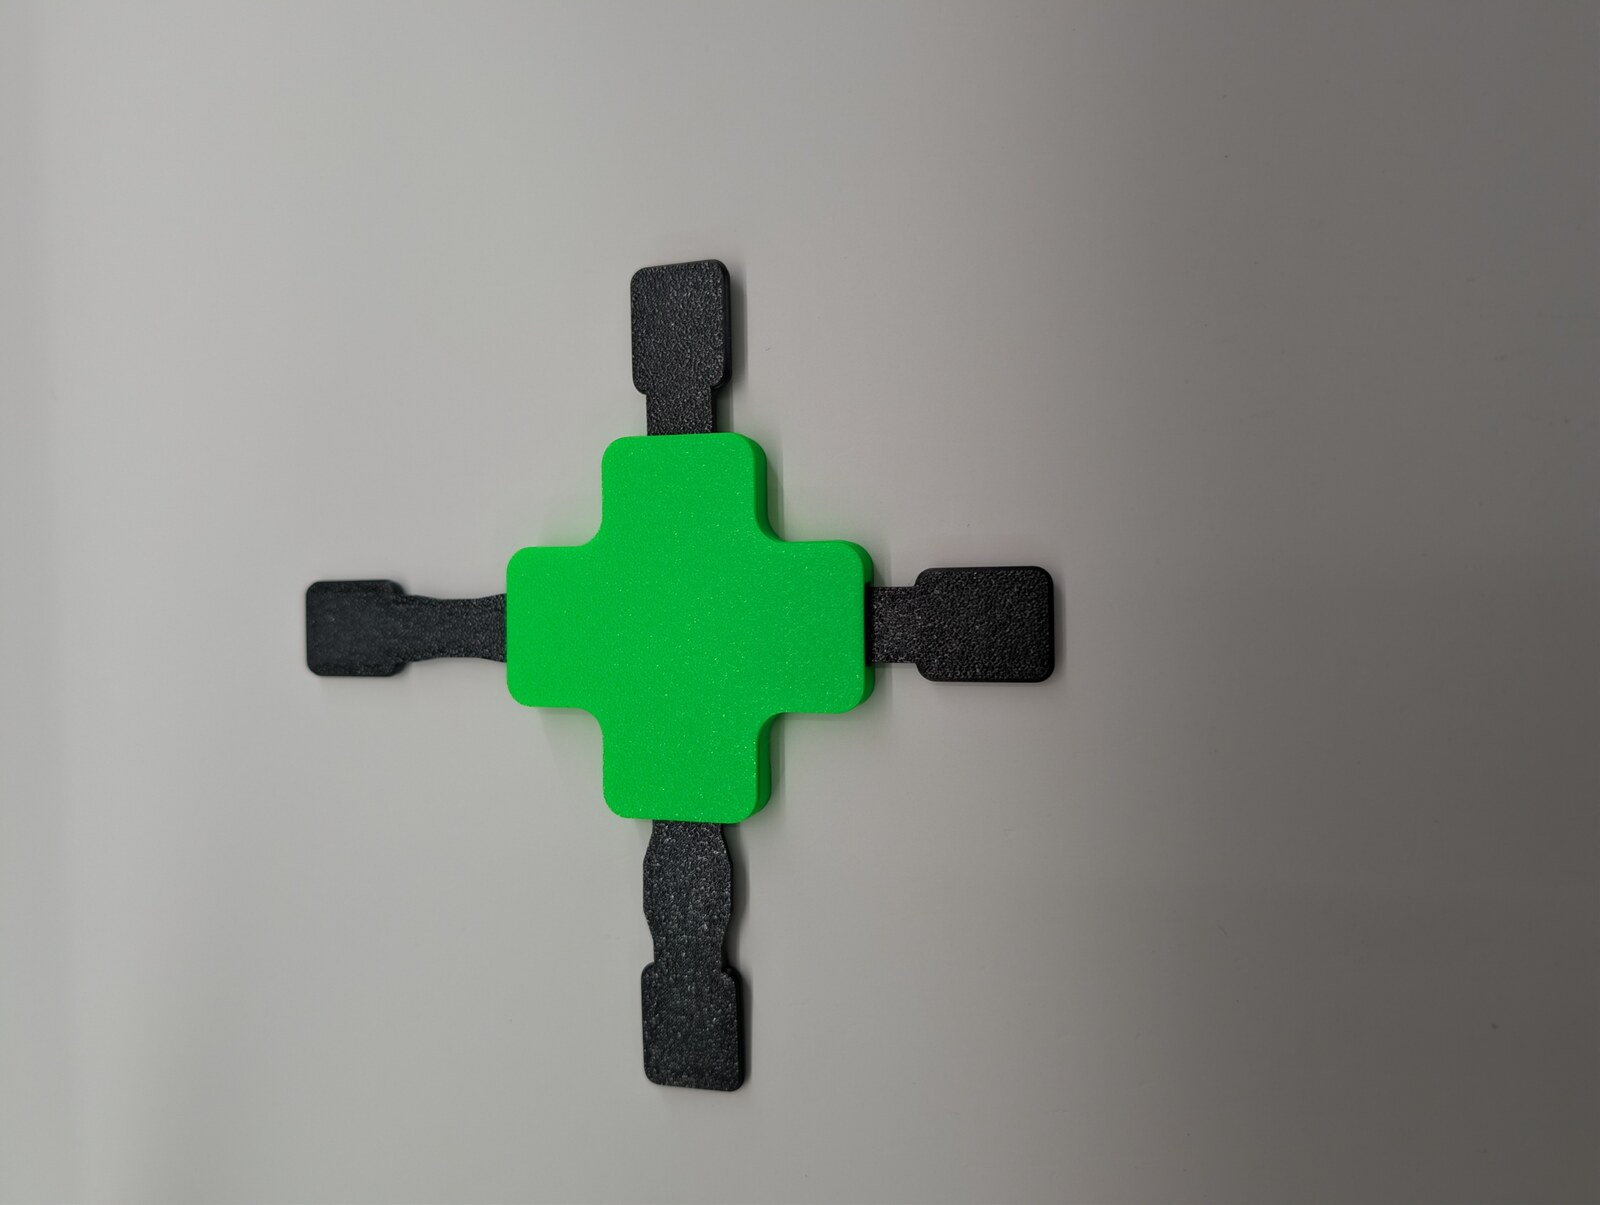
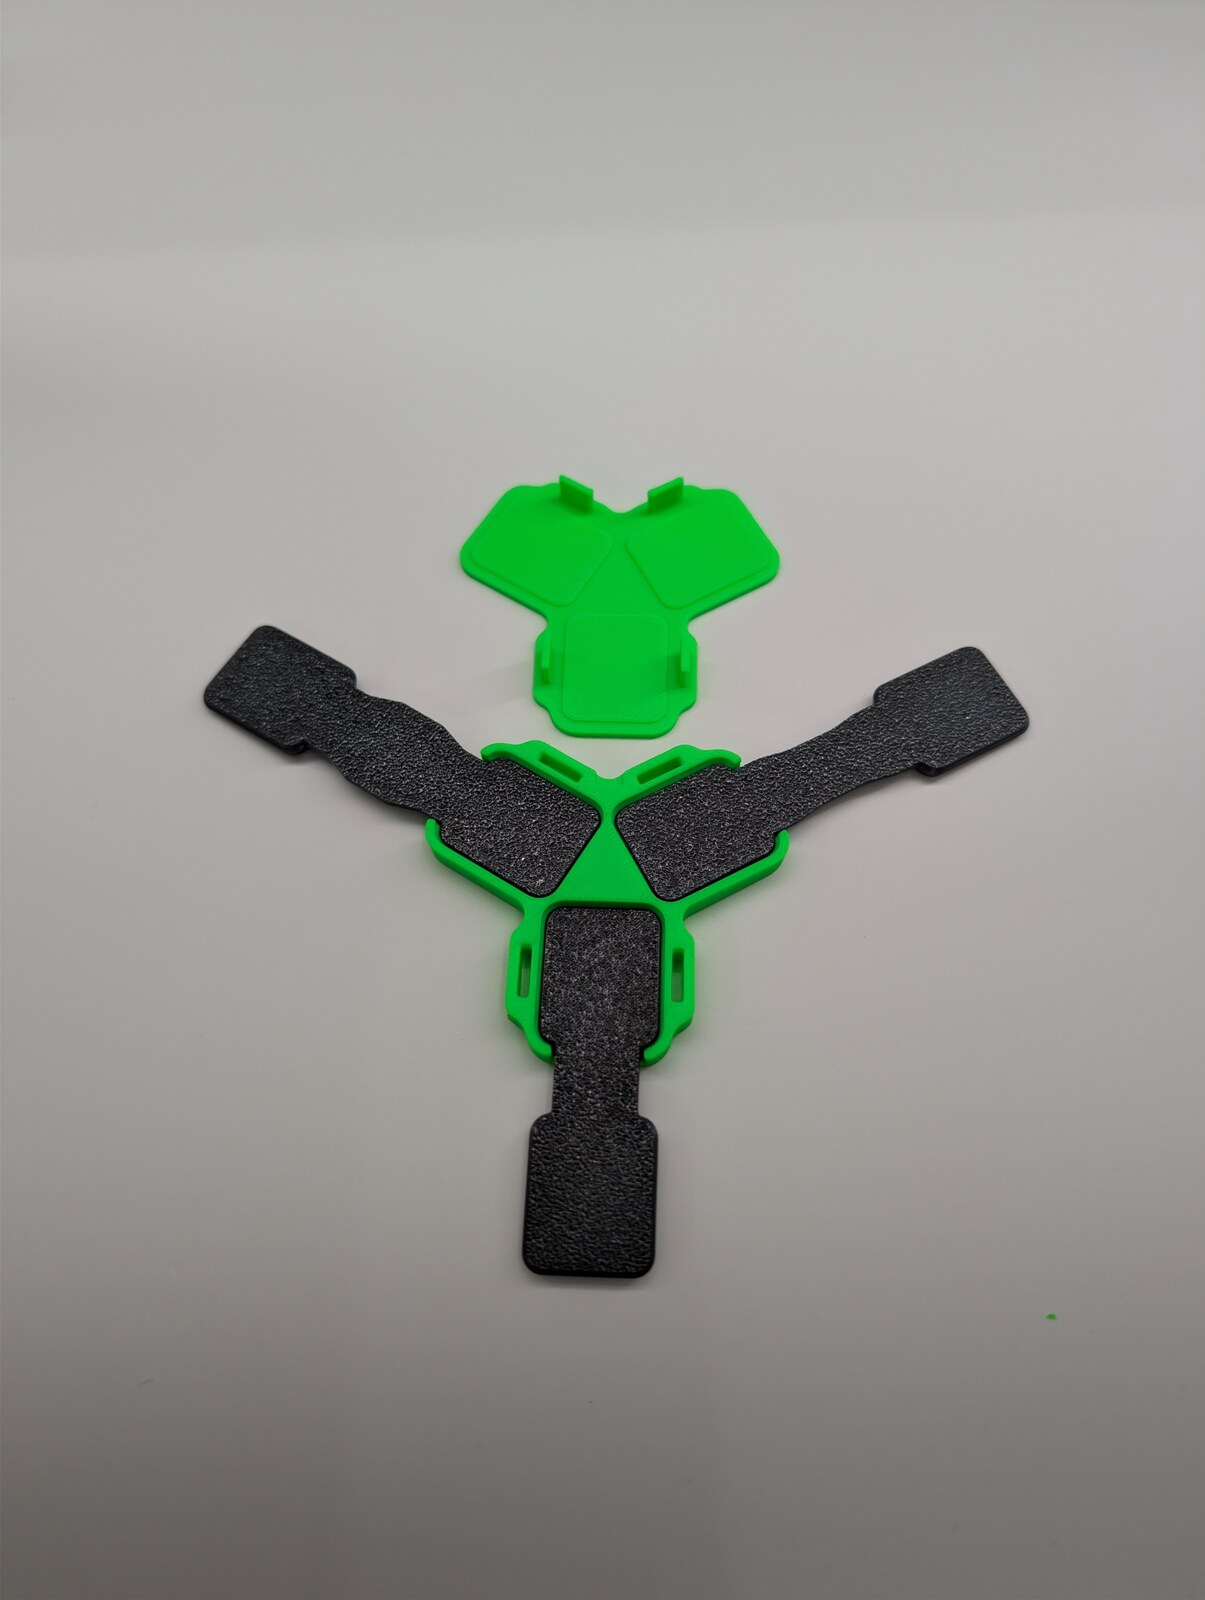
A matching base and cap/lid. Choose the shape for your strap layout and check your printed fit.
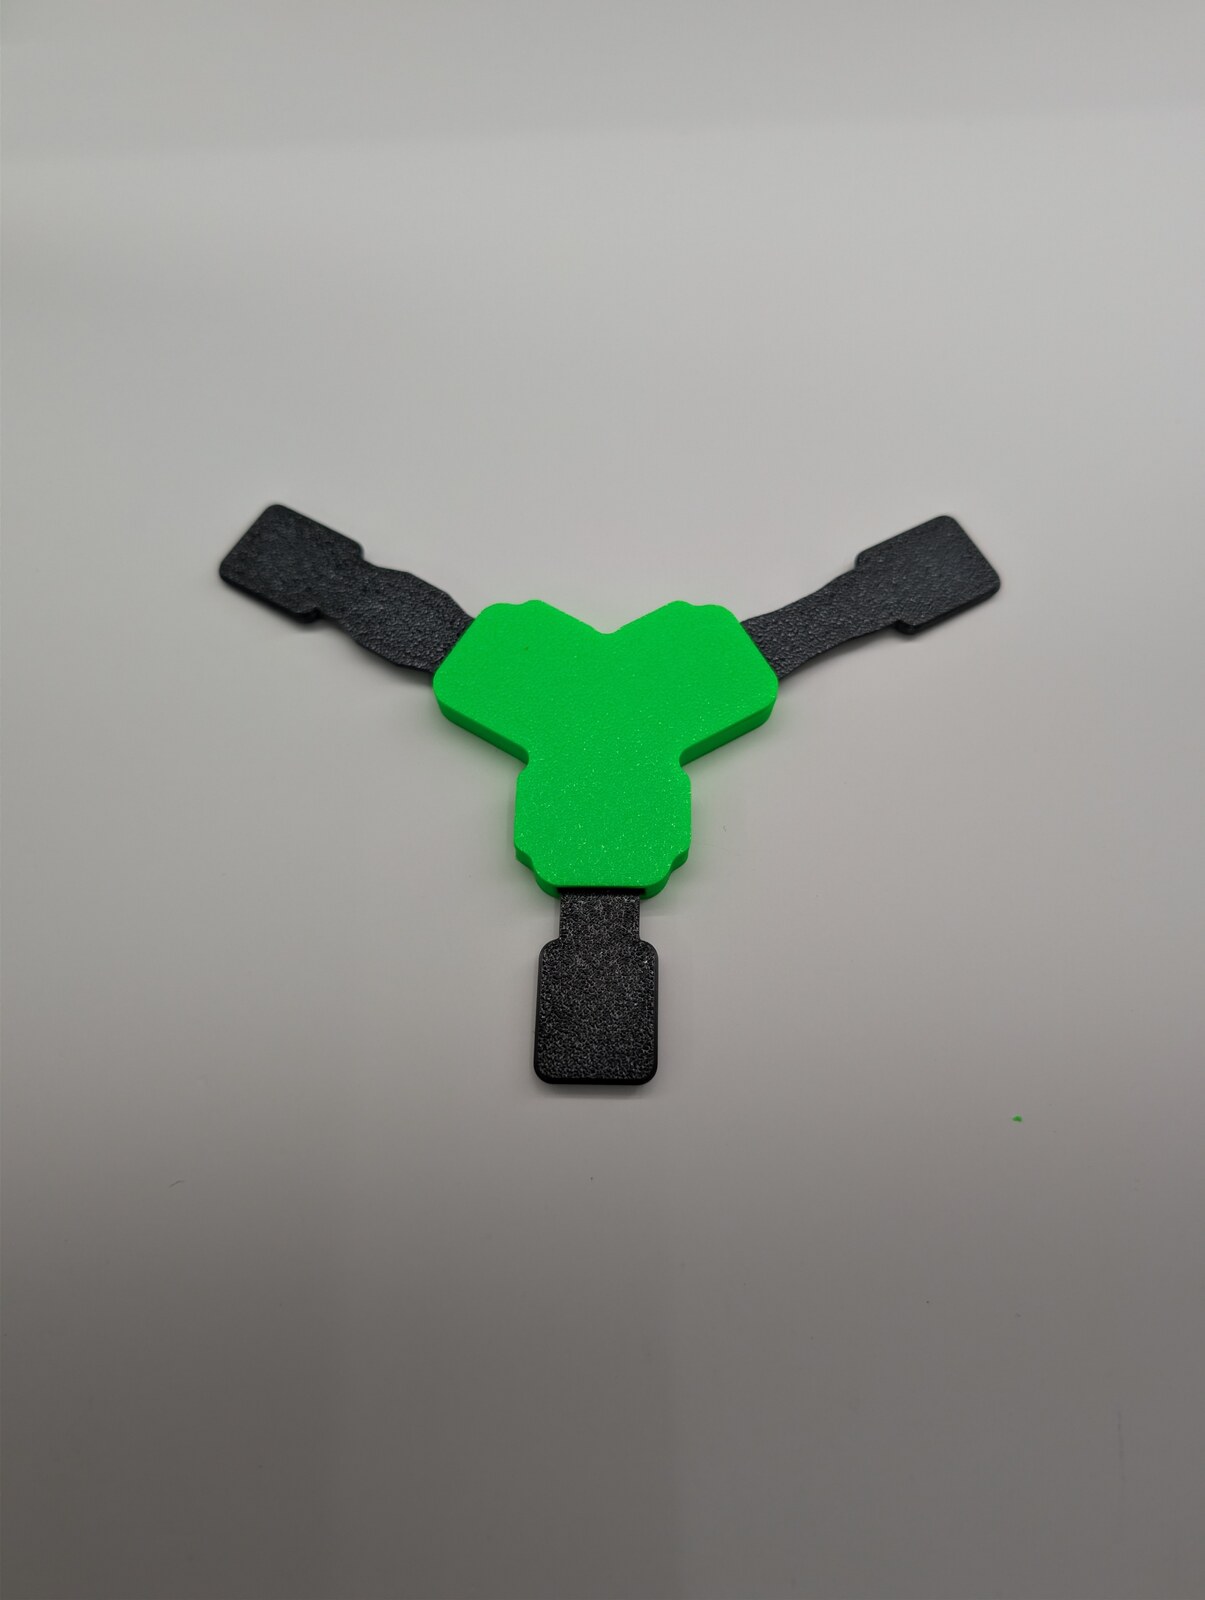
These photographs show each joiner with Standard strap ends, open and with its cap seated. Keep the base and cap/lid together by shape and check the exact strap fit. The initial torso wear test is a separate four-strap setup; it does not establish that every joiner shape has been installed or worn.
Standard vs Mini
Choose a size for your available space, then keep its TPU straps and bases together.
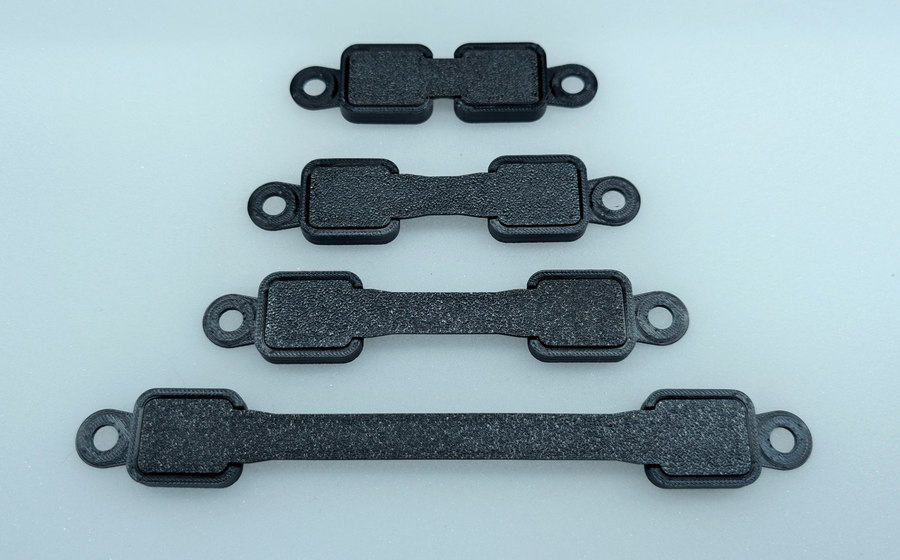
Three base layouts, three flat strap styles and the FlexCord option.
Two base layouts and an 8 mm flat strap for more compact spaces.
Match Standard with Standard, Mini with Mini. Both families use the same PLA post/ring mounting interface and 8 × 2 mm magnets. Check neighbouring mounting footprints before committing to a layout.
Strap options
The release has 21 magnetic strap variants and 25 non-magnetic variants. Flat Slim, Flat Standard, Flat Wide, FlexCord and Mini options let you plan the route between mounting points.
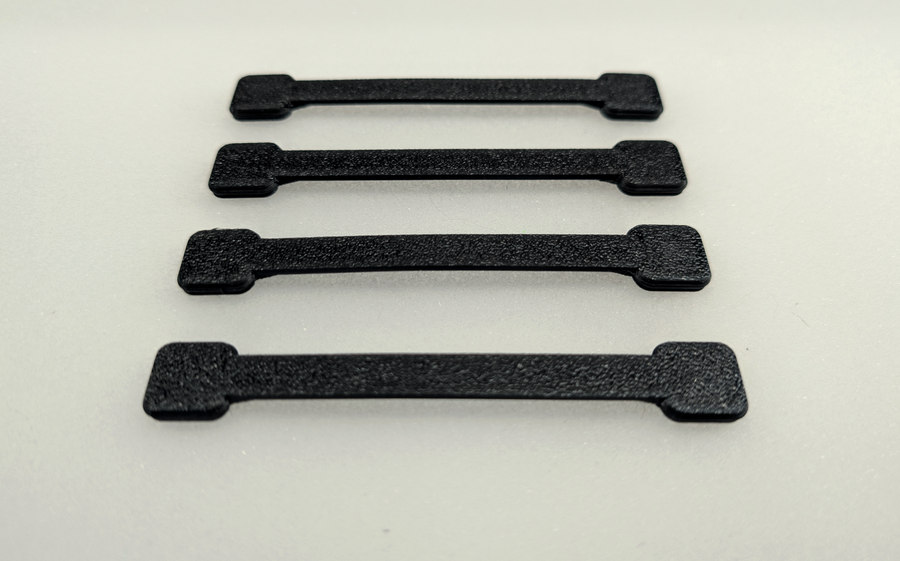
Four real printed examples from the Mini family, for compact connection layouts.
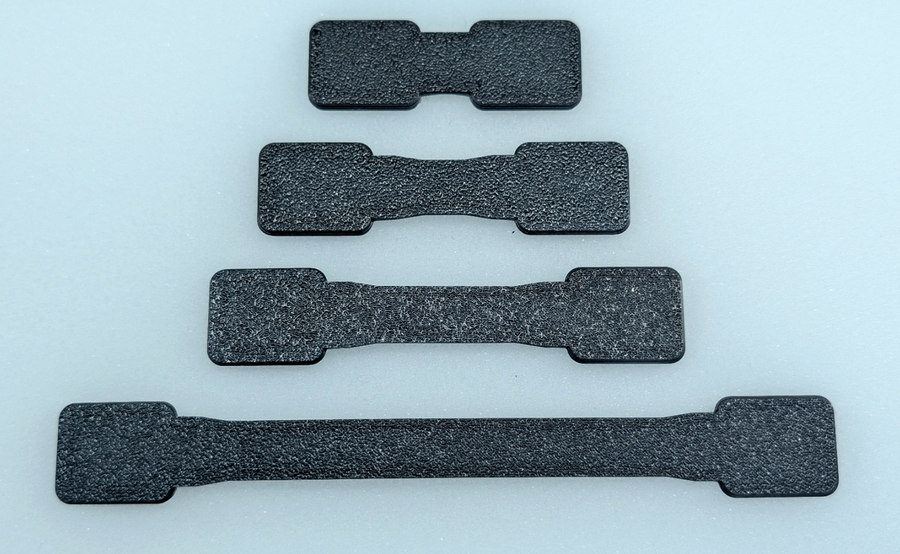
The Standard starting point. Five named lengths from 60 to 160 mm.
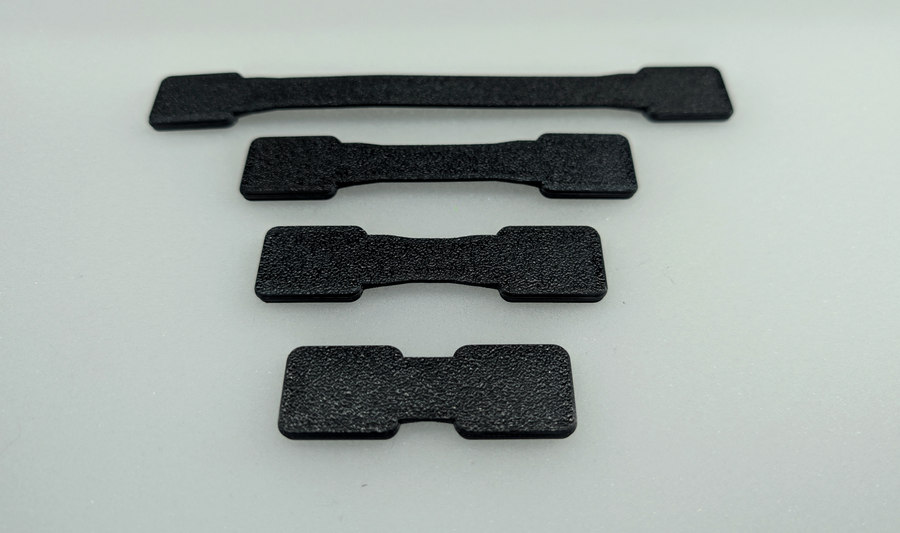
A broader Standard web. Five named lengths from 60 to 160 mm.
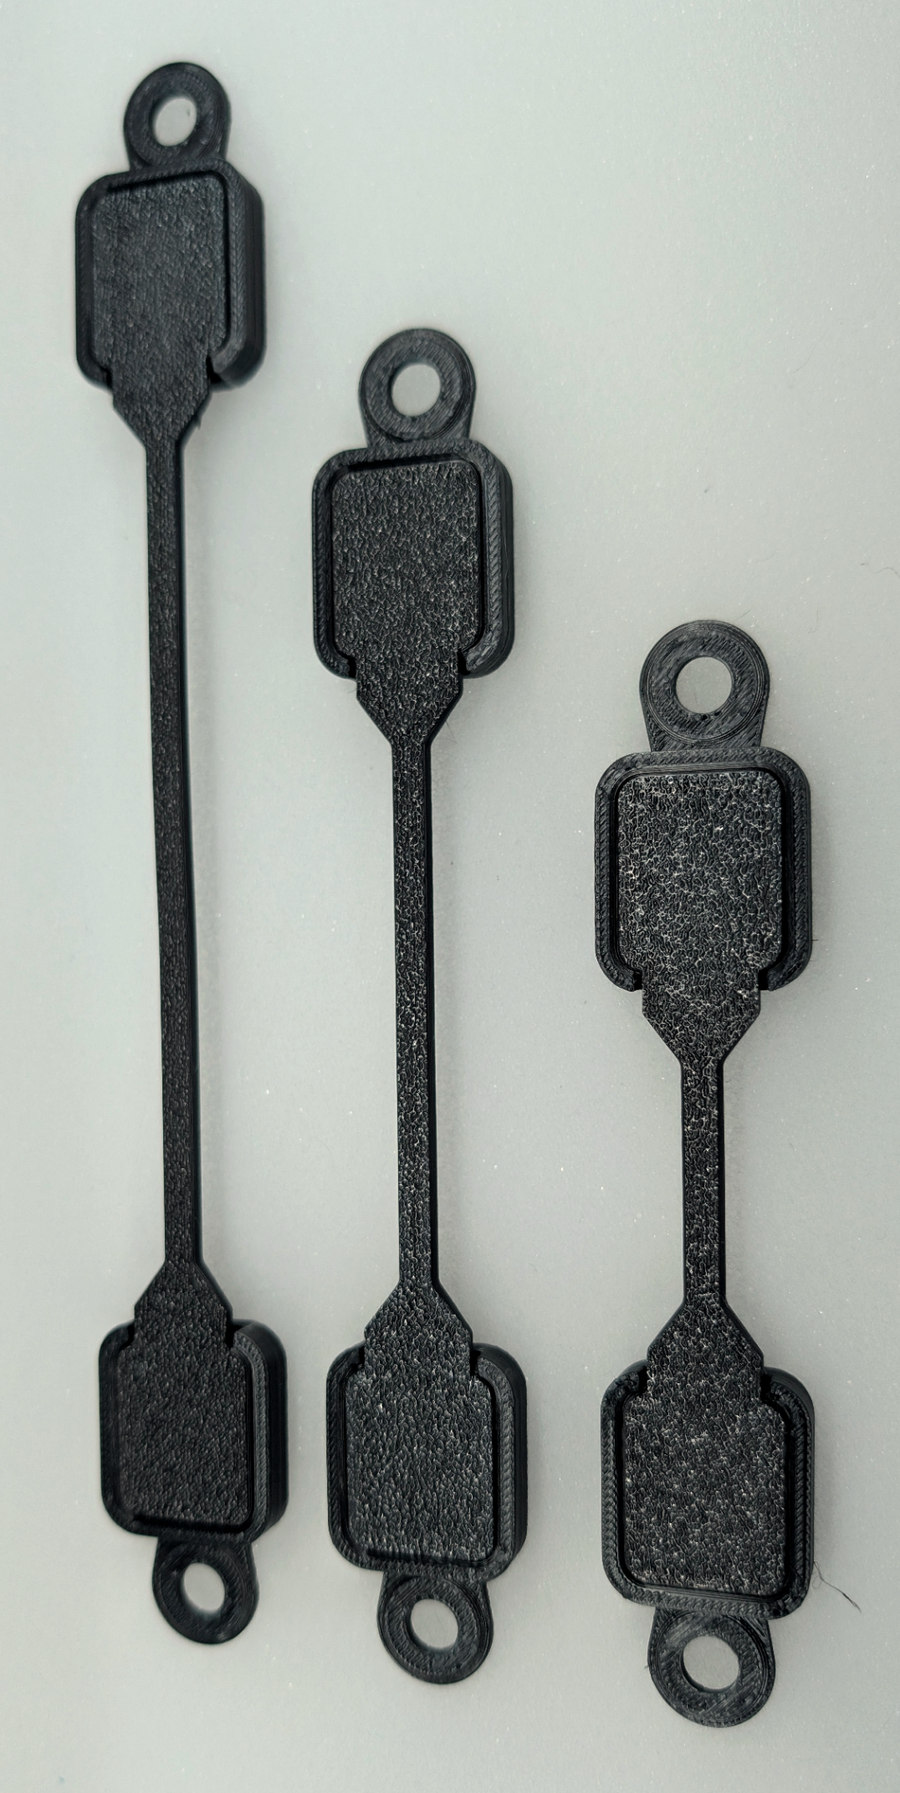
Standard connector ends with a 5 mm cord. 100, 140 or 180 mm.
Mini Flat 8 mm comes in 50, 75 and 100 mm. The non-magnetic selection also has four solid locking long straps: 200, 240, 280 and 320 mm. All four retain EXPERIMENTAL in their filenames. This label remains part of their supplied status; the initial four-strap torso test does not change it. Lengths follow the filenames; check the actual fit before printing a batch.
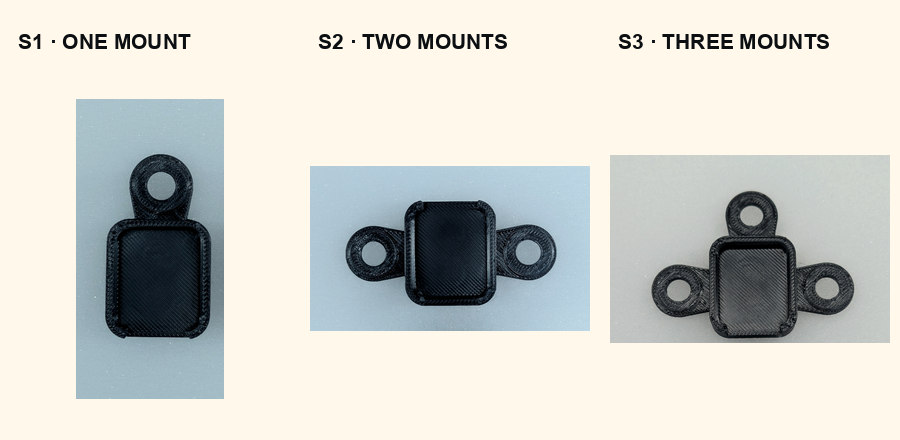
Base options
Use the layout that fits the inside of your shell and leaves room to reach the joint.
StandardS1 · one mount
S2 · two mounts
S3 · three mounts
MiniM1 · one mount
M2 · two mounts
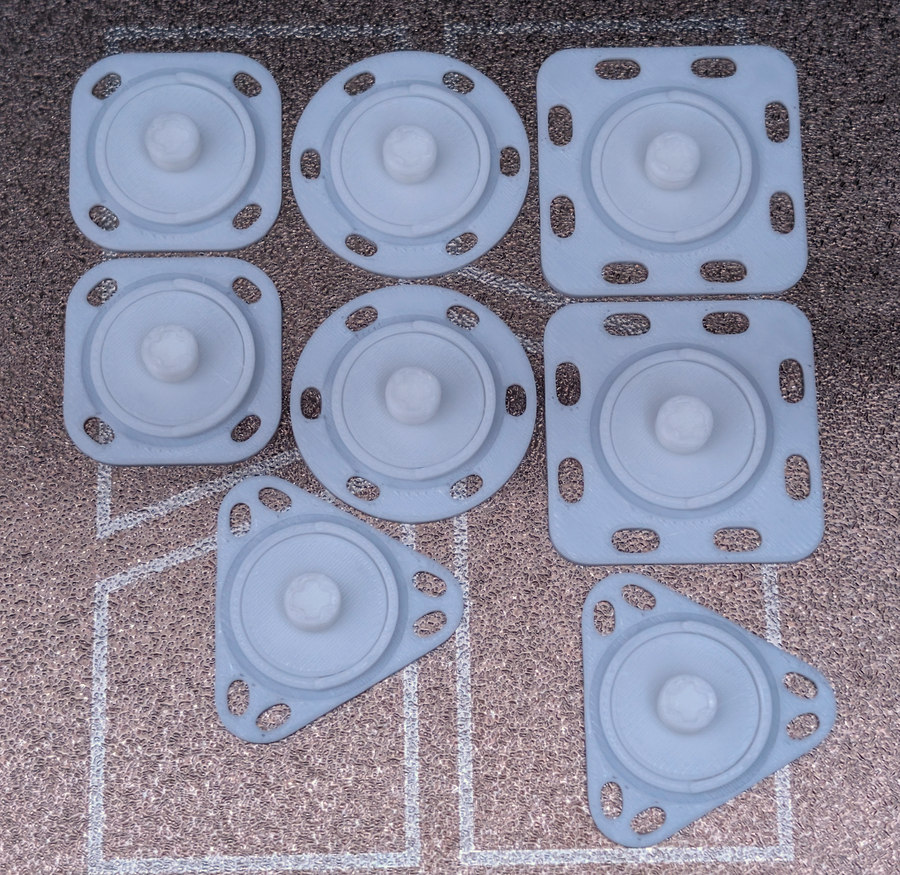
Five PLA footprint shapes give you different pad outlines: Standard Round, Compact Round, Compact Square, Large Square and Rounded Triangle.
For the close Standard S3 layout, choose Standard Round, Compact Round or Compact Square. Larger neighbouring pads need a clearance check.
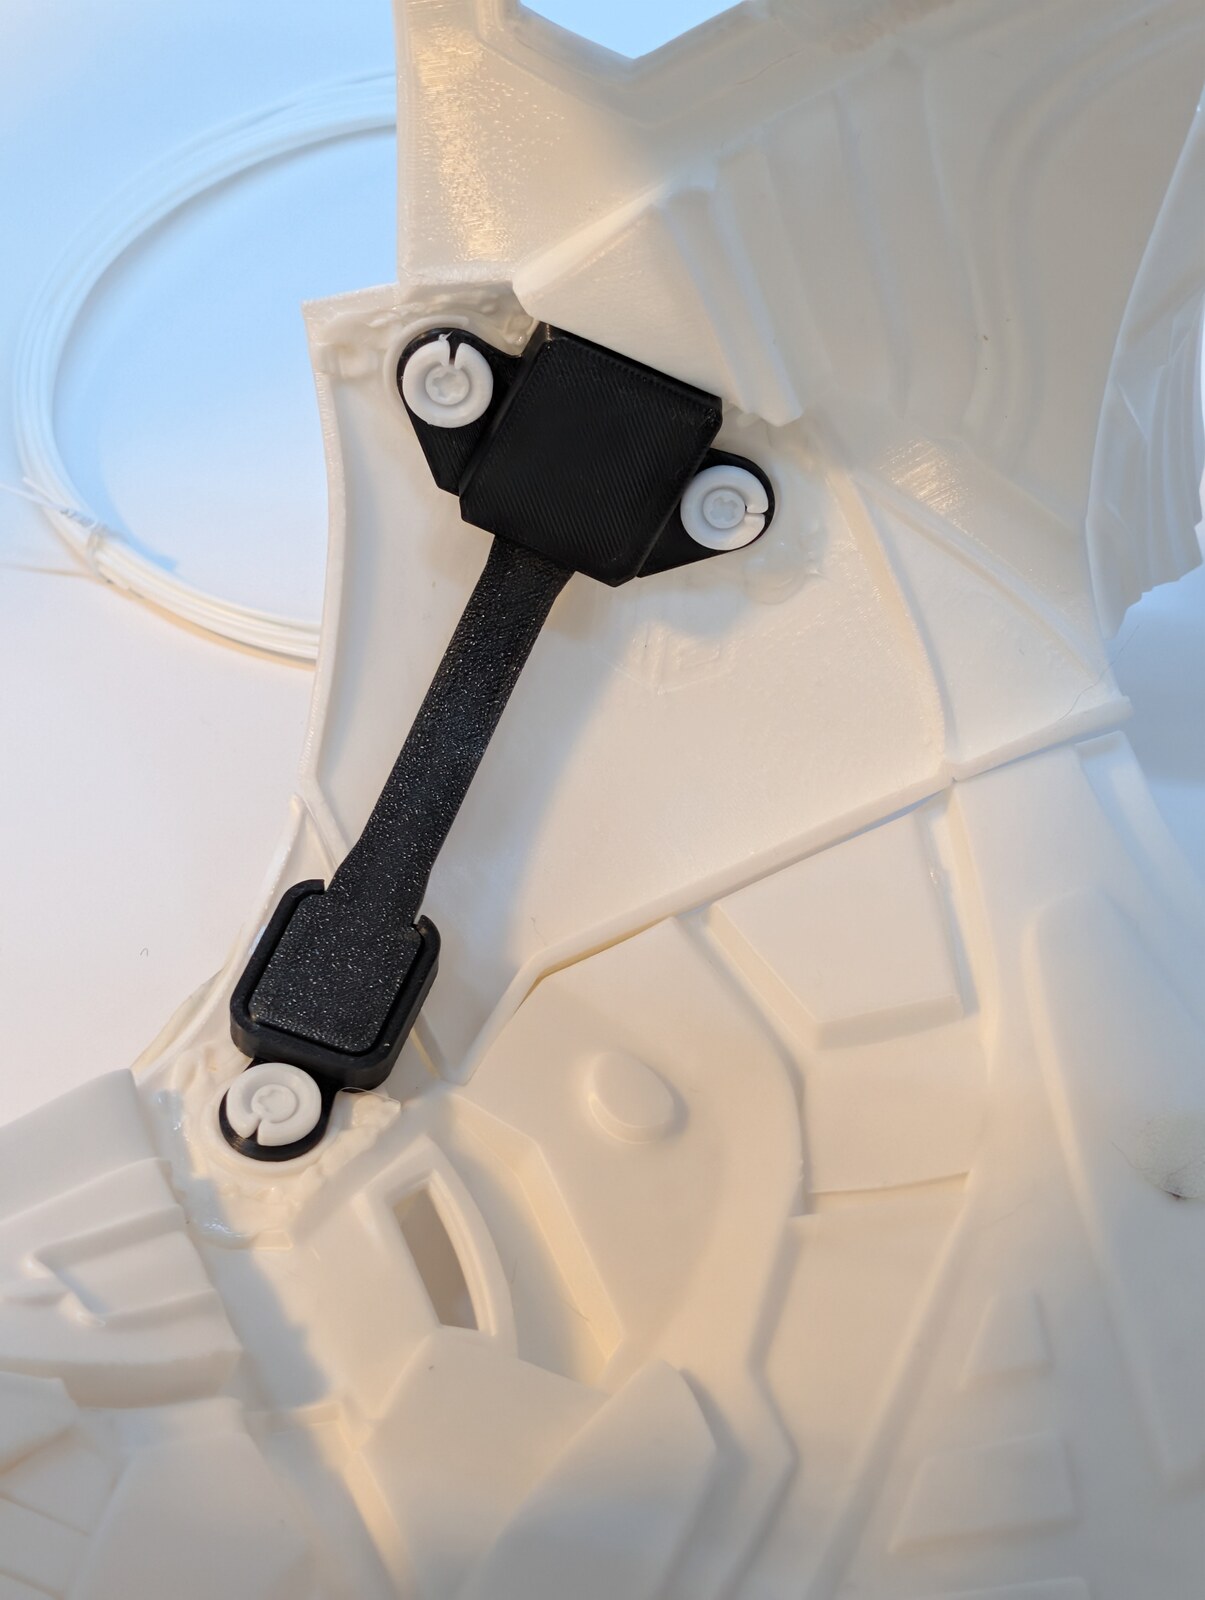
Locks + releases
A locking base and its matching hood provide a retained strap mounting point. The release includes Standard S4 and Mini M3 base/hood pairs. Keep each hood with its matching locking base.
Magnetic straps and bases give you a local removable connection. Non-magnetic straps provide strap options without embedded magnets; choose the geometry that matches your layout.
Joiners handle the strap junction. Stitch mounting posts and the ring handle attachment to the printed shell. Dry-fit the complete connection and leave enough room to reach it.
Match Standard components with Standard and Mini with Mini. Photos show specific assemblies; verify your own combination and clearance before printing a batch.
Snap-Fuse mounting
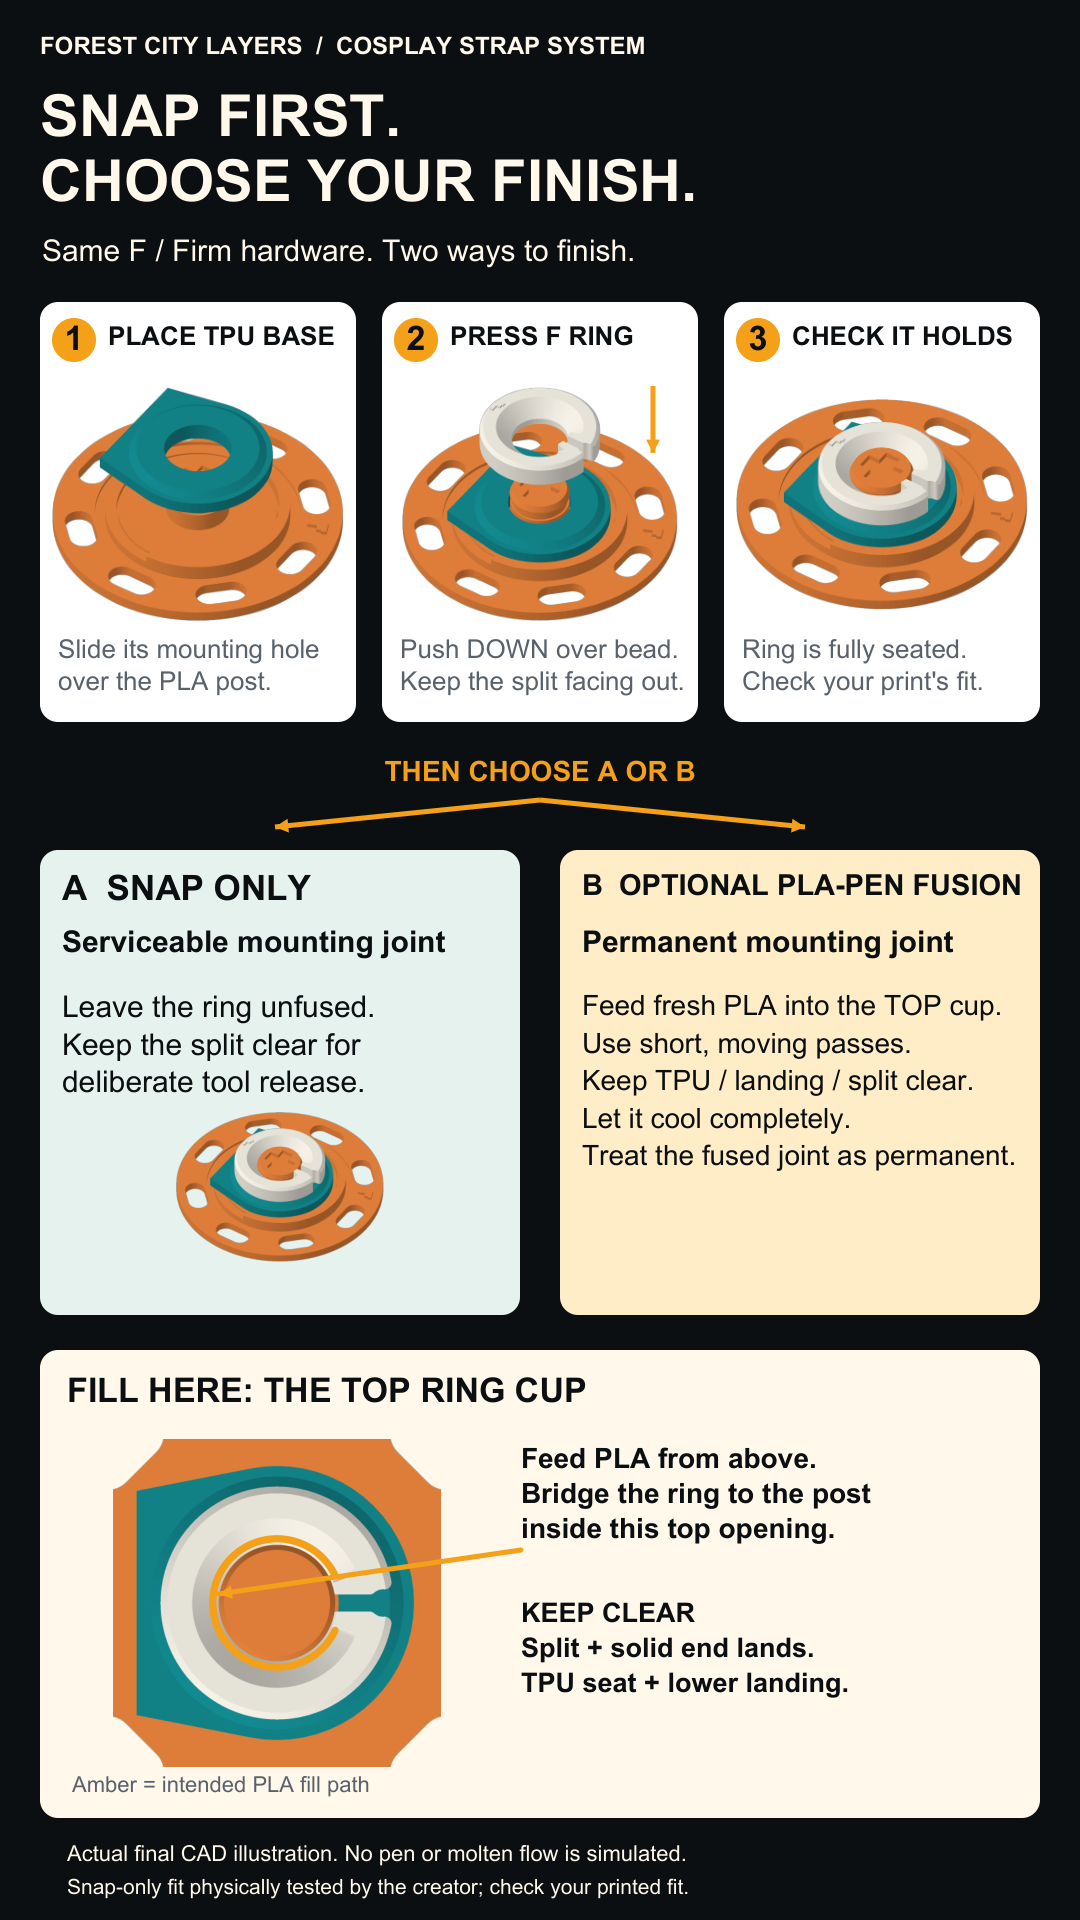
The PLA post and F/Firm retaining ring secure the TPU mounting ear. Choose a serviceable snap joint or optional permanent fusion. The magnetic strap stays removable in either mode.
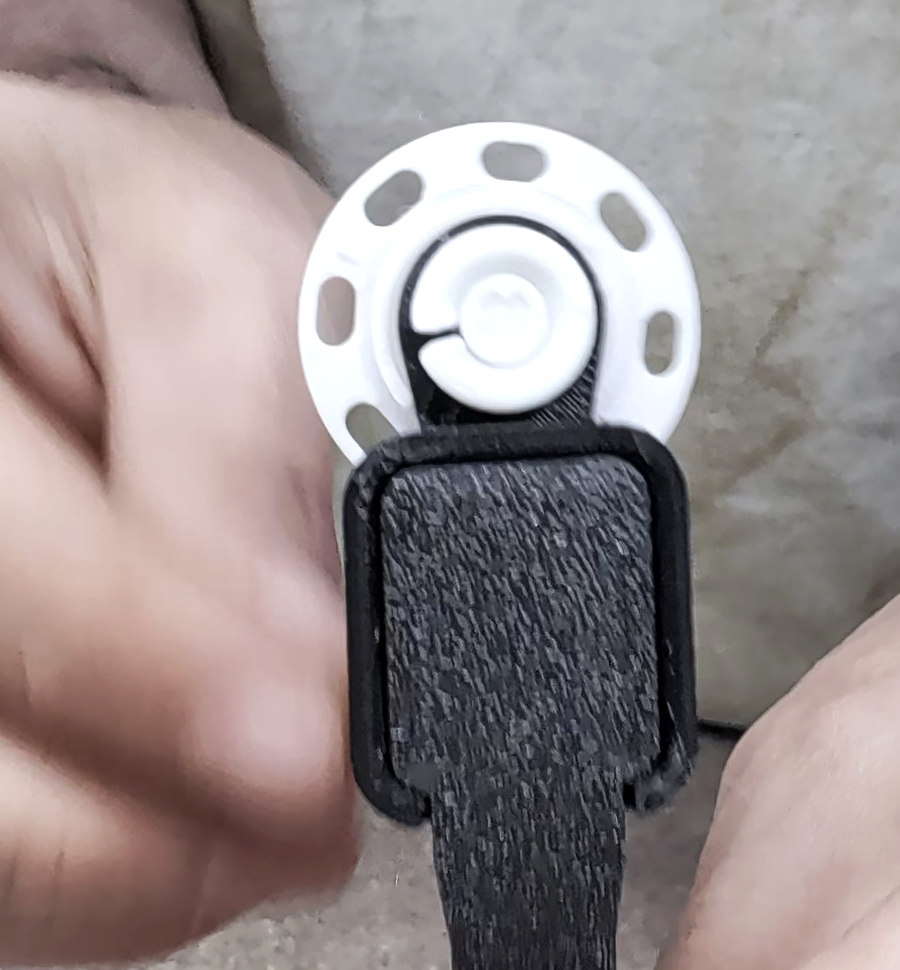
The included F/Firm ring is the creator's physically tested fit. Printer and filament differences still matter.
Leave the ring unfused while you check your layout. Release it gently at the split/service opening when you need to service the base. Replace a damaged ring.
Feed fresh PLA into the top ring cup/channel. Keep the surrounding TPU seat, ring split and solid end lands clear. Let it cool fully, then treat the post/ring joint as permanent.
Footprint stitching attaches the bare post to your shell. Top-channel fusion joins the seated ring to the post. These are two separate steps; keep fresh PLA off the TPU.
Embedded magnets
The printer seals 8 × 2 mm magnets inside the TPU. Set the pause yourself in your slicer.
Use 0.20 mm for the first layer and every following layer.
In Preview, confirm the pockets remain open at the pause.
Check polarity against the matching part. Keep magnets clear of the nozzle.
The next layer begins closing the pockets. Let the part cool before handling.
Add and verify a pause while the pockets are open, before the closing layer starts. The exact layer depends on the part, orientation, scale and slicer settings. Check polarity against the matching part before resuming.
Installed + worn
I installed the system inside my printed torso and tried an initial four-strap setup while wearing it. That is the initial wear-test evidence for this build. It does not establish performance for every variant or joiner.
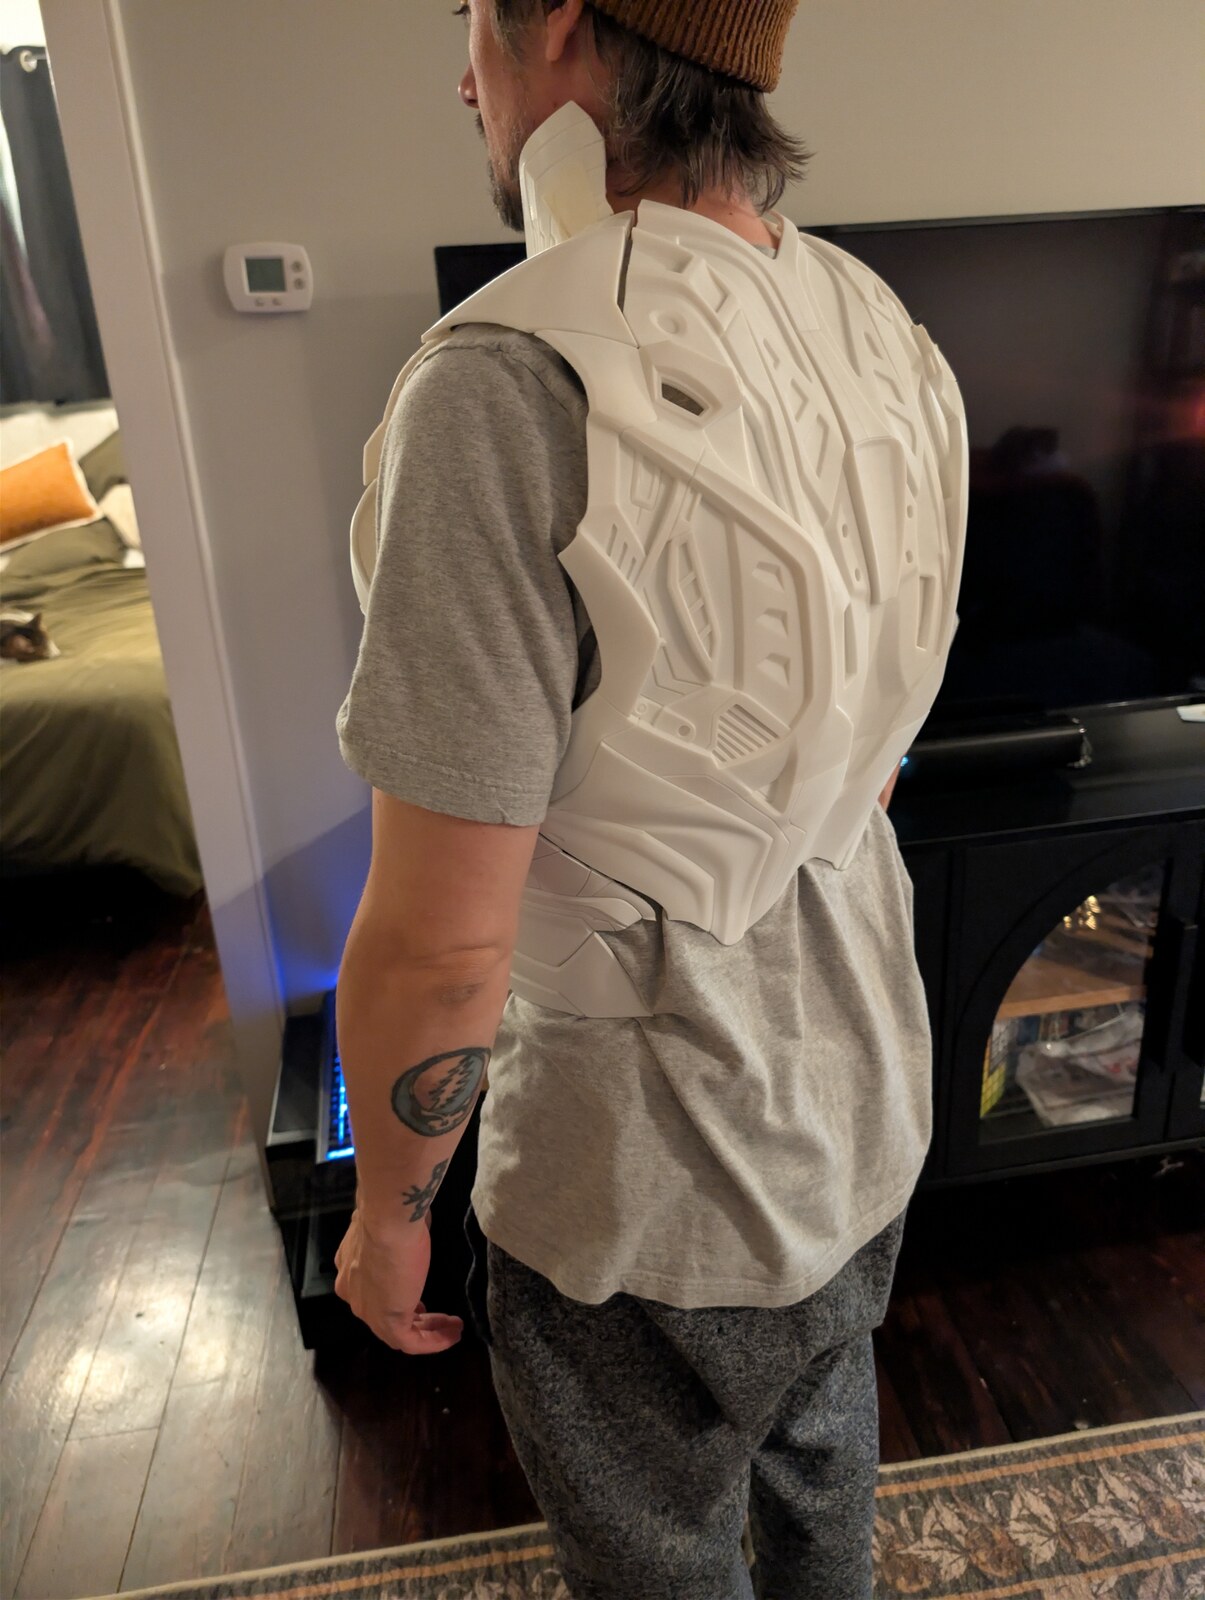
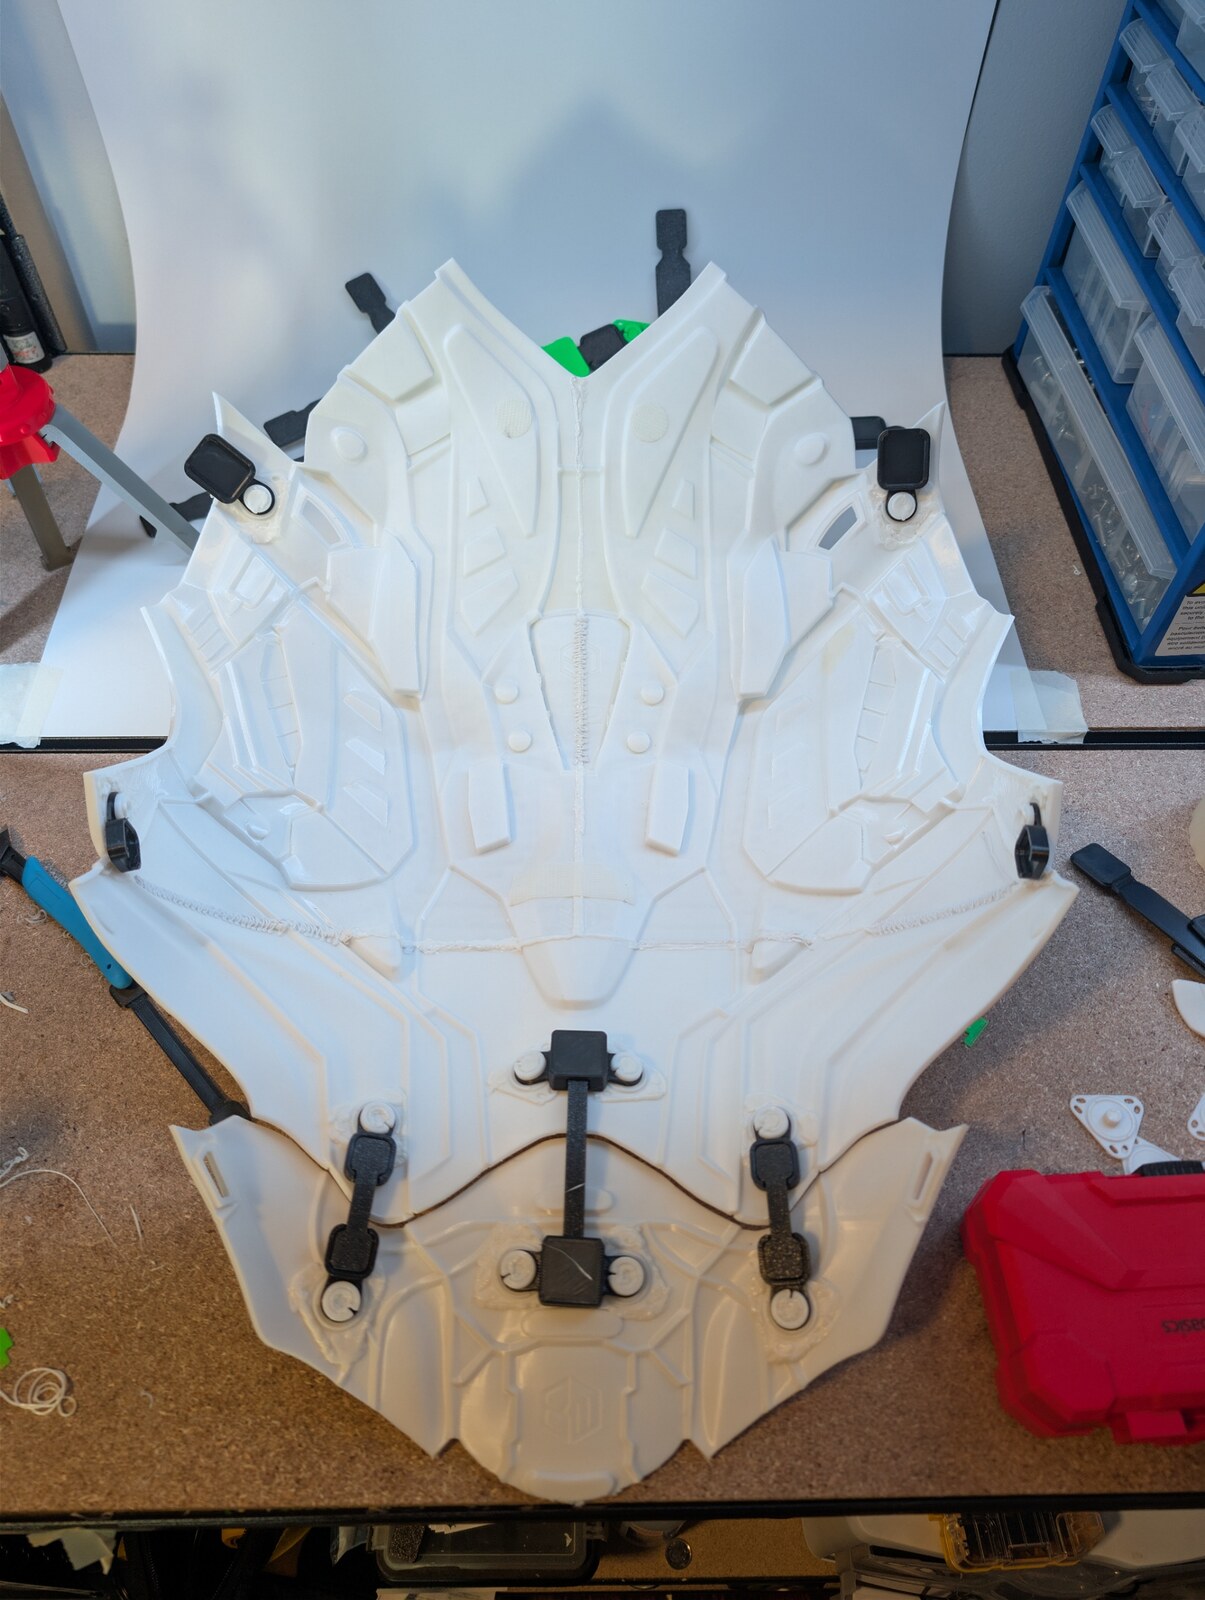
Plan your attachment points, check access from inside the shell and test one small assembly. This is personal build evidence without a numerical load rating or a claim of universal compatibility.
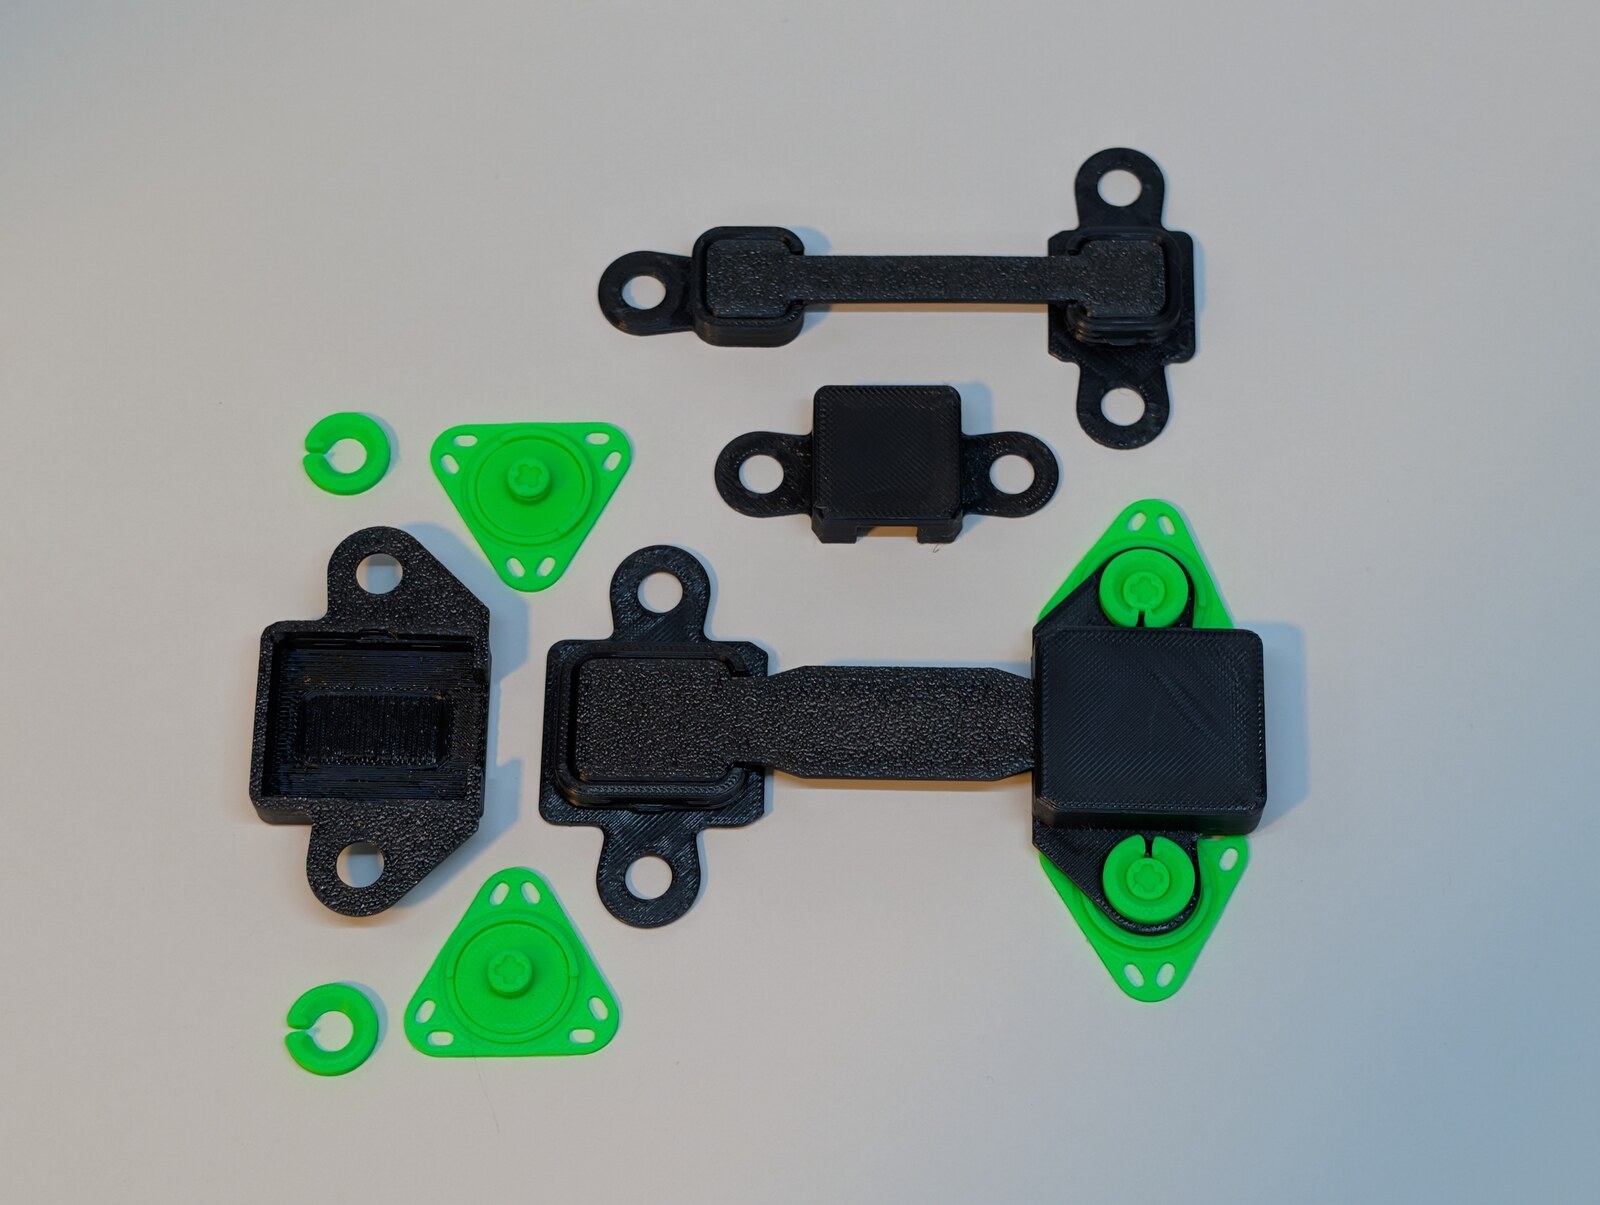
What is included
142 model files represent 71 printable variants. STL and 3MF are matching formats of the same parts. The dated release includes START HERE and the inventory. Digital files only; magnets, filament and physical parts are not included. Personal, non-commercial use under the listing licence.
Print requirements
You'll need an FDM printer that handles TPU, PLA, 8 × 2 mm magnets and a slicer with pause support.
2 S1 bases
1 Flat Standard 60 mm strap
2 Standard Round posts
2 F rings
8 magnets
These four designs are in the free starter. Check polarity, snap fit, neighbouring pads and local peel release before printing more.
The 3MF files contain geometry only, without printer profiles, settings, G-code or an automatic pause. Set up your own material profile and inspect the sliced Preview. The settings above are the established starting point for the magnetic TPU parts; check the chosen joiner, locking part and stitch hardware separately. Retain the supplied EXPERIMENTAL long-strap labels.
Print it yourself
Both downloads are digital files. Print the parts yourself and add filament and magnets.
The existing limited four-design Standard starter: S1 base, Flat Standard 60 mm strap, Standard Round post and F/Firm ring. It covers the first magnetic bridge.
STL + geometry-only 3MF, Quick Start and concise instructions.
Get the free Standard starterAll 71 printable variants: joiners, locking bases and hoods, magnetic bases, magnetic and non-magnetic straps, and stitch mounting hardware.
71 STL + 71 matching 3MF files. START HERE and accurate inventory accompany the dated release.
CA$7.99Introductory price · digital files
Get the complete systemPersonal / non-commercial use under each listing's license. Checkout and download are handled by MakerWorld or Cults.
For now, this launch is for digital files you print yourself. Physical kits are not available to order yet.
FAQ
No. Match Standard TPU straps with Standard bases, and Mini straps with Mini bases. The families share the PLA mounting post/ring interface and the 8 × 2 mm magnet size.
Four Standard designs: the S1 one-mount base, Flat Standard 60 mm strap, Standard Round post and F/Firm ring. Each comes as STL and 3MF, with the Quick Start and concise instructions. Print two bases, one strap, two posts and two rings; add eight magnets.
Set the pause in your slicer. Find the first toolpath that closes each magnet cavity and verify a pause before it starts, while the pockets remain open. Check the exact part, orientation, scale and layer settings in Preview, then check magnet polarity before resuming.
The initial wear trial used four straps in my own torso build. The newer interior photo shows the current layout with additional lower straps. Joiner photographs show open and capped assemblies, without establishing that each shape has been installed or worn. The four long straps keep their EXPERIMENTAL filename label.
No. Leave the ring snap-only for a serviceable mount. Attach the bare footprint to your shell with a suitable adhesive or PLA pen stitching, then let it cool before adding TPU. Optional fusion uses fresh PLA in the seated ring's top cup/channel; keep the TPU seat, split and end lands clear, let it cool, and treat that post/ring joint as permanent. The magnetic strap can still be released from its base.
Support the base, then lift or peel the plug near its neck. Release the connector locally rather than pulling on the middle of the strap. The permanently fused mounting joint, if used, stays in place.
Check pad clearance in your layout. For the close three-mount Standard S3 base, use Standard Round, Compact Round or Compact Square. Large Square and Rounded Triangle need more space; dry-fit neighbouring pads.
Ready-made kits are coming soon; this page does not take physical orders. The digital launch is personal/non-commercial. Check the listing's license; it does not grant commercial resale rights.
Safety
Keep loose magnets away from children and pets. Swallowed magnets can cause severe injury. Stop using a damaged part if a magnet becomes exposed or loose.
These parts have no load rating and are not for body-weight support or protective equipment. Allow PLA pen joints to cool fully before touching or adding TPU.
Follow your printer and pen instructions. See the CPSC magnet safety guidance.